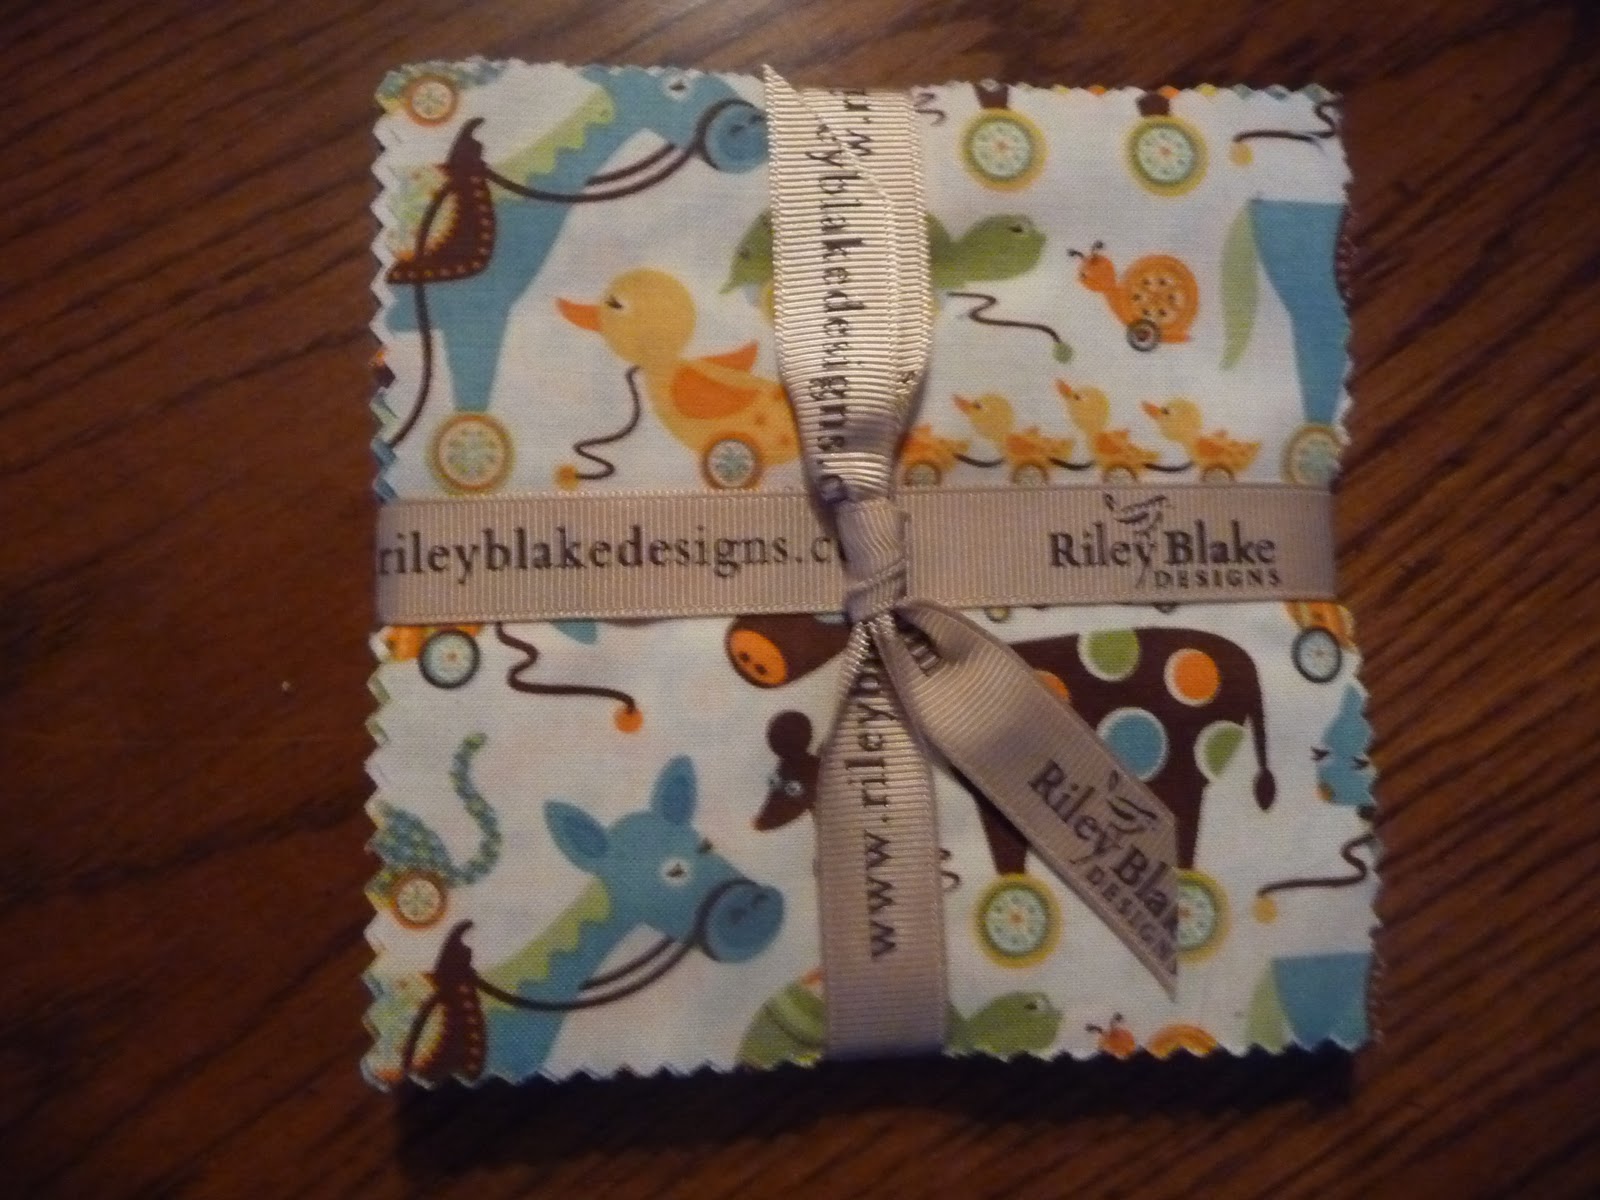
It was a small pack -- only 21 5" squares -- so I was fishing around for how to use them. Then I ran across this fun and easy idea on a website called Nancy's Fabrics. Nancy's directions are much less complicated than mine, but she's really talking about how to use the fabric and doesn't get into the details of sewing.
Make the 9-patches
 |
| I didn't use the solids on the right |
2. Start sewing! I chain-sewed the patches, but I only used the fabric from one package at a time, so I wouldn't get lost.
 |
| The first two columns are sewn. |
. |
| Squares from one pack stitched together. |
3. I am a great believer in pressing. Lots of quilters just finger-press along the way, but I find that pressing with an iron really helps make the sewing more accurate -- more on this later -- and you can spot anything that needs fixing before it become impossible to correct! Press the seams in the first row of your patch to one side. Press the seams in the next row to the other side. Press the last row the same as the first. OR press the seams in the first row toward the middle, the second row to the outside, and the last row same as the first. Your goal is to have the seams going in opposite directions for when you sew the rows together. This sounds complicated, but really, it's not! And it's worth the extra effort.
 |
| Seams pressed in opposite directions. |
 |
| One 9-patch sewn. |
Make and sew your blocks
1. After you've made your 9-patch squares, get out your mat and rotary cutter and cut each patch into quarters. As you can see, each smaller block has one full-size (5") square, one quarter-square, and two rectangles. I got two 3-patches out of each package of fabric, so I ended up with 24 blocks.
 |
| 9-patch cut into four blocks |
2.. Now, after squaring up your blocks, re-arrange them to create your quilt. The directions on Nancy's website suggest several possible arrangements, but I decided to go with just a plain 2:3 rectangle with no sashing between the blocks. I started playing around with the blocks, sticking with my two original criteria (no adjoining patterns or colorways).
I was pretty happy with the way most of the seams in the patches matched up, and I knew that with all the different patterns rolling around the quilt top, the final seams probably wouldn't be all that noticeable. But I still wanted them to match as well as possible. Then it hit me! I added another requirement to my layout: no seam matching between blocks!
 |
| No seam-matching required! |
3. Sew your blocks together using the same chain-sewing technique that you used to make your 3-patches. When you sew your long seams (columns), you won't have to match a single seam. And when you sew your rows, you only have to match the 3 vertical seams that you just sewed. And of course, you remembered to press them first, in opposite directions, so your seams will be lovely.
 |
| Pre-cut, but not pre-accurate. |
Also, beware mixing pre-cuts from different manufacturers. These were all the same, but the sizes of the squares may differ, even just a little, between manufacturers. That's OK, as long as you know it and account for the differences.
That's it for today. Time to get the border fabrics cut and sewn. I'll be back with Part 2 in a few days.
No comments:
Post a Comment