Saturday, November 30, 2013

Quilting Weekend and UFO Finished!

I had a great quilting weekend a couple of weeks ago with my friends Deb and Jane.  They both enjoy quilts and quilting, and we all had other things to celebrate as well.  They came to my house to inspect my current projects and offer advice (requested by me).  Then we had lunch in Bellport and went to a show of quilts from 1860-1960 at the local historical society. 

No photos from the quilt show, unfortunately.  But we had a fine time, and Deb scored a small spinning wheel that put a wonderful smile on her face.

My current quilting project was giving me much frustration (more on that in another post), but my friends' enthusiasm got me going again.  I decided it was time to finish a couple of  panel quilts that had been sitting for a year.  And I'm really happy with the results!

World Quilt

This is a panel that I picked up at Jo-Ann's about two years ago(!).  As a geographer, I appreciated the pedantic opportunity here.  It was a snap to quilt -- just sewed along the lines of latitude and longitude with a walking foot.


The detail is nice.  The capital is shown for every country.  And it is fairly current -- Burma is labeled as Myanmar.


And how cool is this backing!  You know, of course, that over 70 per cent of Earth is ocean!


Quilting USA!


Next up was a panel of the United States.  I'd done one of these previously for my granddaughter.  Lacking experience, I'd quilted it by sewing (with a regular foot) along the state boundaries, including all the rivers, lakes and coastlines.    It came out OK, but what a pain!

This time, I figured out that the quilt was for my grandson, age 7, who definitely is not a member of the Quilt Police.  It seemed like a great opportunity to work on my free-motion "skills."  The panel was about 42" across and 36" long.  It easily fit under the harp of my sewing machine.


A stipple didn't obscure the detail on the panel -- the capital of each state and some graphics showing historic locations and primary economic activities in each state.

As you can see, some stitching lines crossed over, and there are some pointy things where curves ought to be.  BUT -- no eyelashes and no puckers.  And the stitch lengths weren't all that even.  But I'm happy with the results -- a UFO finished, a technique improved, and a grandson delighted with the quilt.  Perfect trifecta!!


As I stitched through New York, I noticed that something was, um, out of date.  Do you see it?  Understandable; the date on the selvedge was 2001 (although I bought the fabric in ~ 2011).  A memento, I guess.


Saturday, November 2, 2013

Quilting in Space!

... and Space for Quilts!


Hi, all!

It's been a busy time, no blog posts because I haven't had much time to sew.  Fortunately, that's changing.  I've been busy with two different projects (patches for one are leaders/enders for the other), so some new posts will come along shortly.

Meanwhile, check out this really cool story about an astronaut quilting in space!  She had challenges that the rest of us will never have to face!


Meanwhile, for those of us on Long Island, there's a quilt show to visit this month!  Bellport-Brookhaven Historical Society is hosting an exhibit of old (1850-1950) quilts.  It's too late to enter a quilt in the show, but such a lovely time to drive through our beautiful Long Island to visit the quilts.  Hope to see you there!


Sunday, September 29, 2013

Rearranging Everything!

Where did September go?  The non-profit organization that I work with had a big international event last week and it took over my life.  Right after that was over, I ended up completely rearranging my sewing studio.  Ack!

Sewing Studio 2.0


The reason for rearranging had nothing to do with sewing.  We were having trouble getting a good wi-fi signal in parts of the house, so we wanted relocate the router, which in turn required moving the furniture.  But BONUS! --  the layout is nicer for my sewing, too!


Now the table is right in front of the south-facing window -- lovely view, and the winter sun will be so nice!  When the table is folded up, it's centered under the window.  Got a new lamp, too, with five lights to point in any direction (nice, since the winter sun will be fleeting).


Of course, Stella loves that sunny window, too! 


Well, this isn't very scenic, but it is practical.  The glass jars hold selvedges and 1" strips of fabric that will some day be a pincushion.  Or something.   The plastic bins need some shelves to sit on.  But we are planning to move in a few months, so that can wait.  For now, the new floor plan finally allows space to put them on the floor and fill them with fabric that was bursting out of the cabinet -- smaller scraps, jelly rolls and charm packs in one bin; fat quarters in another; fabric bought for specific projects in the third.


Who knew that a 40-year old stereo cabinet would come in so handy!  Here are bins with larger scraps on the bottom and yardage on the top.  Plenty of space!  Time to buy more fabric!

And Rearranging Blocks, Too!


Fortunately, the wedding quilt I'm making for my niece is lap-size and has big, easy blocks, so progress over the last couple of days has been quick.  All the 9-1/2" blocks with the green-and-neutral HSTs are done, as are the blue-and-neutral 4-patches.  These just need to be sewn into 9-1/2" 16-patch blocks and then the quilt top can be finished.  But now I'm not sure how I want to arrange the blocks.

  This --> was my original plan.  I didn't want the 16-patches arranged in the usual alternating pattern.  I flipped them around and came up with an arrangement that creates one large and 4 small blue squares in each block.

Playing around with the patches today, though, I wondered if it would look better swapping out the positions of the light and the blue.  The blues are pretty dark.  But there are already the big white squares from the HSTs.


The photo below shows both arrangements.  I'm still leaning toward the blue squares, but I'd love to hear from you about what you think!  Please let me know.


I have some fun ideas in mind to personalize the quilt top, once it's together.  Hope it's soon!

Sunday, September 1, 2013

Happy Labor (of Love) Day!

Labor Day weekend has always been my favorite time to WORK!  I guess it's the mindset left over from school days, coupled with (sometimes) cooler weather and the 3-day weekend.

Yesterday I started cutting the fabric for my niece Molly's wedding quilt.  Cutting is not my favorite part of making a quilt.  Something always goes wrong.  Yesterday I was having trouble with my 6" x 24" ruler, just couldn't get it lined up right.  Then I realized that Stella was lying on the other end!  Wish I had a photo of that!  Then when I shooed her away, she started gnawing on the cut patches!  Argh!

Stella the Chipmunk Hunter

Still, I got a lot done -- more than planned, in fact!


Two, Two, Two Quilts in One!


Remember the Doublemint gum twins?  No?  Well, it was a long time ago.  Anyway, "Double your pleasure" works for quilts, too!

First I cut 200 dark blue 2-3/4" squares.  Some were scraps from other projects, some came from fat quarters that I bought.  I love dark blue, and I had lots of blue batiks, so this will be fun to sew!

Next up was the greens.  I remembered that I had never cut any of the green fabrics for the Easy Street Mystery Quilt, and the fabric colors were in the same family, kind of apple-y and lime-y. 

I challenged myself to minimize waste by combining the fabrics and figuring out the best way to get the most 5-1/2" squares and 3-1/2" squares out of each piece of fabric.  Usually this meant cutting the large squares first, then cutting the smaller ones from the remaining strips.


Bonus! 


I mentioned the Scrap Savers System in my past post.  After each scrap or fat quarter had been cut so that there wasn't anything at least 3-1/2" wide, I trimmed the remains into strips and squares.  Now they'll be ready to use in another scrappy quilt!


Even 1" pieces got saved -- I can feel a postage-stamp quilt coming on!

Wednesday, August 28, 2013

Little Steps Make a Long Path

With only a few minutes now and then to work on quilting projects,  I decided that it was time to get things moving! Lots of little things done become serious progress!

UFOs (but not for long!)

Pieceful Quilting has opened up their nice air-conditioned classroom for us climate-challenged quilters.  So I headed over today, but -- oops! -- forgot to bring the fabric I wanted to cut to get started on Molly's Quilt!  That's OK, though.  I'm also anxious to get working on some Unfinished Objects (UFOs) and move on.   Some nice quilters gave me great suggestions on how to quilt the One-Block Wonder (OBW) that has been a UFO since this time last year.  I'm inspired by their ideas, hope to tackle this one soon.

One person suggested that the red and green and gold and the star shapes kind of looked like a Christmas quilt.  Maybe I should have put Velcro on the inner border so that I could swap out the outer border for different seasons! 


I finally finished the final block for the 2012-2013 Simple Sampler class at PQ, too (only 4 months late).  Picked up some fabric for the block borders, inner border and spacers, so I'm ready to move ahead on that, as well.  The inner border will be a dark blue.  The spacers will be yellow -- needed because the blocks range from 6-1/2" to 15-1/2" (unfinished).  Not sure what I'll do about the outer border, though.  The flowered fabric that's the constant in all the blocks is a bit difficult to coordinate with.  I think I'll wait to see what the pieced top looks like first.


Under Construction

Remember back last December when I dived into Bonnie Hunter's Easy Street Mystery Quilt?  Well, all that stopped when I had lot of travel and weddings and babies to sew for.    (The quilt pattern is no longer available for free on her website; it will be published in her next book).  This week I was determined to get something -- anything! -- done on this.  I managed to finished over 200 4-patches!  Nothing like a big stack of blocks to make one feel the momentum!

I had all the strips cut, so all I had to do was sew them together, cut into 2" pieces and sew the 4-patches.  They were half done, so I only needed to do 100 more (!).


Finishing:

Lay out all the sewed 4-patches on a towel.  Spray with spray sizing or Best Press.


Lay those puppies out on your ironing board, as many as you can fit.  Plenty more where those came from!


Carefully press to set the seams.


Curse and swear when some remaining water in your iron decides to burp all over your units (optional, or so one would hope).

Give each 4-patch unit a little tug at either end of the seam.  This will create a tiny break (just one stitch) that will allow you to twirl the seams so that you can press them all in the same direction.


You know how sometimes your seams just "want" to go in one direction?  Well, when you give that little tug, that allows each end of your last seam to go the direction that it wants to!    


See how one end of the seam is leaning toward one light patch, the other end toward the other light patch?  Nothing like a happy seam!

When you press the seams, you get a sweet little checkerboard in the center.  This makes nesting the seams so much easier when you join the 4-patch to another unit.  Thanks once again to Bonnie Hunter for this tip!


DONE!  Over 200 4-patch units!  The pattern calls for 192, but who's counting?  (I figure that there are at least 10 that are toast, so best to have a few extras).


This finishes Step 1 of the Easy Street Mystery Quilt.  I finished Steps 3 and 4 back in December, and Steps 2 and 7 were underway.  Little by little, the quilt will come together.


Good news:  I saved all the steps as they were published, but I no longer remember what the finished quilt looks like.  So it's still a Mystery Quilt!

Scraps in a Snap!


As usual at this time of year, I've been bitten by the organizational bug.  I'm terrible about keeping organized, but I love the sorting and stacking and rifling through all my pieces of fabric.  I'm a big fan of Bonnie Hunter's Scrap Users System, so I went through the scraps that have piled up from recent projects and my stash in general to bring things into some kind of order.

I cut leftovers into squares and strips (1-1/2", 2", 2-1/2", 5") and tidied up bigger pieces (less than a half yard; anything bigger gets filed as "yardage").


There were several pieces left over from all those Easy Street 4-patches -- ends of strips that didn't quite make the 2" cut.  I trimmed them off to 1-1/2", then realized that I probably wouldn't use them for anything except more 4-patches.  So I sewed them up, and now I have a nice little stash of small blocks to use for whatever.

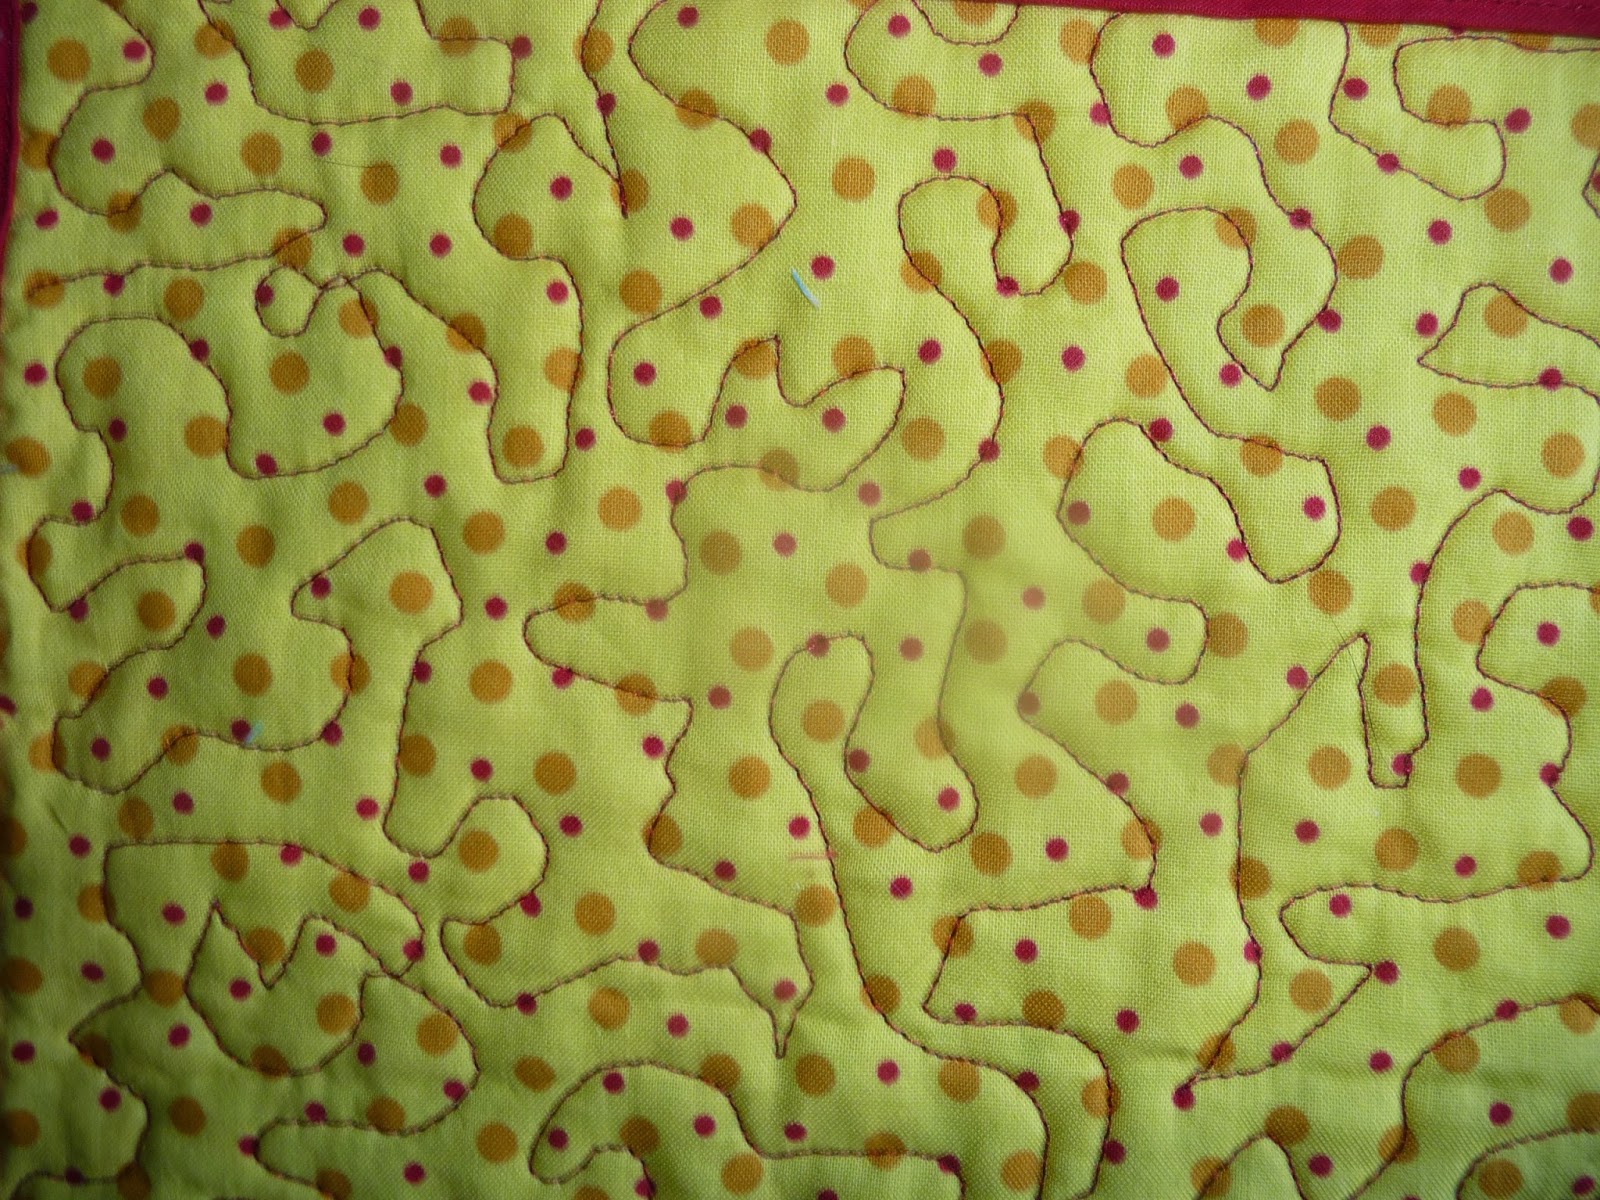
There were also scraps left from the doll quilt I made while in Michigan.  Whatever will I do with little pieces of flannel??  Oh!  Make another doll quilt!.  I just cut everything into strips of whatever size, sewed them together, squared them up and put on a binding.  There isn't even a backing, but I'm sure a doll won't mind!


And lookie here!  This is all that's left from the two doll quilts!  How green is that!?

Until next time!...


Sunday, August 18, 2013

Molly's Quilt (Part 1)

After a long dry spell, I'm back in the sewing saddle!  Back on Long Island from a wonderful couple of weeks in Michigan and ready to hit the sewing machine.

After my son's wedding in July, we returned to Michigan to have house guests, family, and another wedding.  All those UFOs that I thought I would work on during my one week home in July came to naught.  But now, especially with the unexpectedly cooler weather, I'm ready to get to work!

Project #1 is a wedding quilt for my niece, Molly, and her outstandingly wonderful husband, Laith.  They have a house on a lake near Detroit, and she requested a lap quilt for cruising around the lake on their pontoon boat on chilly evenings (only if I get to use it, sweetie!).  Several of you suggested something blue and white, something nautical.  But when I saw all her wedding colors -- save-the-date, invitation, place settings, flowers bridesmaid dresses, I had my plan!  Her colors were dark blue and apple green -- yum! Her flowers included white hydrangeas, which I love.  Perfect for the background color.


Beautiful!  I decided on a controlled scrappy look, with dark blues and apple greens from my stash (well, maybe just a little shopping!) and a neutral to pull everything together.  I've seen some gorgeous white hydrangea fabric, but there was none to be found.  So I decided to go with a batik that seemed to be the right colors.

I needed a block pattern that would work in just 3 colors.  I finally chose the World's Fair block from Fons & Porter/Keepsake Quilting's Block Buster e-book (available free to subscribers or on Amazon and some other sites).  Do you have any idea how many "World's Fair" blocks there are?!!


 This is interesting because you get very different secondary patterns depending on how your orient your blocks.  No matter how you do it, there are some apparent shortcuts -- it's really just 2 Half Square Triangle (HST) units and two 4-patches.

When you put them together in a quilt, you can see that the 4-patches can be done by simple strip-piecing.
  
The block isn't in my Quilt-Pro software, so I designed it in and then played around with it, finally deciding to set the blocks on point.  Just to make sure that my math was right (or at least that it would work!), I made up a test block using some "loser" fabric that I'd gotten through some sales on the web.


This is pretty enough, but to say that it wasn't printed straight on the grain is an understatement!  As a fat quarter, it'll be fine for a few HSTs.


Mmmm, don't these look just yummy together  (not)!


Leftovers from other projects or "What was I thinking" purchases, already cut into 3'' strips per Bonnie Hunter's Scrap User's System (if you don't know about it, check it out!  Great way to save, store and use your fabric!).  Good for the 4-patches.


Step #1 - Cut 5-1/2" squares from one color (I'll use the green in the actual quilt) and the background fabric.  Fold the background fabric in half, point-to-point, and press.


I've made a lot of HSTs by drawing a line from point to point and then stitching 1/4" on either side of the line.  Somehow I always end up stretching the square on the bias when I draw the line.  A simple press helps to avoid this problem.


Step #2 - Stitch 1/4"on either side of the crease line.

 
Cut down the crease to create 2 HSTs.


As long as we're using up unwanted fabric, why not do the same with thread?  These lovely units I stitched with fire-engine red thread, left over from a Christmas project.  (When the test blocks were done, I had only about 10" of thread left on the bobbin.  Yes!).


Step #3 -- Sew together 4 of the HSTs to make one unit.  I plan to make some small foundation-pieced blocks and applique them in the center of some of these background squares.


Step #5 -- Strip-piece the second color (I'll use blue; here in print/plain/stripe -- yikes!) and background strips.  Cut into lengths the same size as the strips (I used 2-3/4") and sew to make 4-patch units.  Sew 4 of these units together, rotating the units so that there is a colored patch in the center and one on each corner.


 Everything worked out, mostly. And I can use these blocks to practice my free-motion quilting!  So now I'm ready to start cutting and stitching!  Each of these blocks is 9-1/2" unfinished, so they should go pretty quickly.  Stay tuned to see how they are coming along!