Thursday, December 31, 2015

Little Fun Things


Happy New Year!


Winding up the year with a few little projects that I managed to start and finish (!) in 2015.

Layla's quilt

My lovely niece, Molly, had a baby this year.  You might remember the quilts I made for her for her wedding plus a bonus quilt.  Of course, Layla had to have a quilt of her own!  I had ordered a fun charm pack and I found a pattern on the web that I liked a lot, and this was the happy result.  It's modern, not to girly but girly enough, I think.


 The quilting is a simple cross-hatch.  For the back, I used up some charm squares that I ordered by accident (didn't think they'd be baby-themed), framed with a pink princess print.  The squares are different neutral shades, but they didn't exactly "fade" along.  Oh, well.


One of the "baby" prints...


The princess print that I used to size out the back is so cute!


The Toilet Runner

Yes, that's what it is!  My new local quilt shop had a table-runner class, and I thought it would be fun just to get to know the store people and whoever else might show up.  Well, it turned out that I was the only "student" in the class!

I didn't need a table runner (yet), but I had an alternative plan.  My daughter lives in an old house with some "interesting" features, including a cracked-all-over top on the toilet tank.

YUK!
 She's been using old placemats or whatever to cover it up.  Time for a facelift!  I picked out fabrics that coordinated with the tiles in the bath/shower area -- a deep marine blue with goldfish here and here.

The runner was easy -- two pieces of fabric, one narrower than the other.  Sew 'em up, sew across the ends, voila!  The background fabric was a watery blue, almost the exact same as the bath tiles.  The center fabric was orange with pennants. 


But... if the runner was turned around, the pennants suddenly became colorful Christmas trees on mountains!  Fun!

Here's the finished runner.


I stitched down the overlap area with a decorative stitch on my machine...


Ta-da!  The toilet is now actually a nice centerpiece for the bathroom!


Greta's Birth Announcement

One reason that the quilting didn't progress so much this year was that I had other needlework projects going on.  I finally finished the birth announcement cross-stitch for my beautiful granddaughter, Greta, just in time for her first birthday.


And finally...

As the year drew to a close, I found myself behind this car.  Seems like a sign!


Can you see it?  I want to meet this person!


Happy New Year, everyone!


Sunday, November 29, 2015

Picking Up...

...where I left off.


Last spring I resumed blogging after a year's absence.  A month later, life stepped in again.  No apologies; that's how things go sometimes.  So now to catch you up on what I've been doing.

Downton Abbey Bed Runner


Two days after Christmas, we attended the wedding of two very dear friends, Stephen and Beth.  Their happiness was contagious -- everyone had a wonderful time!  I wanted to make them something quilty as a gift, and they chose a bed runner (whew!).  Beth wanted black and white, to coordinate with her existing color scheme.  Stephen was looking for a bit of color.  But two days after the wedding, I broke both my legs, and sewing was off the table (so to speak) for a few weeks.

Once I was back on my feet (with casts and a walker), Beth and I headed to my LQS to pick out fabric.  She found a lovely black Downton Abbey fabric, plus two grays and a white-on-white.


 I decided to do large star blocks, making the runner one block wide by 5 blocks long.  It would be quick to make, and I was on a roll after the star pillow top I'd made earlier.  The star was no particular pattern, I just made it up in Quilt-Pro.

The black fabric was a challenge to mark and cut with the tools at hand.  I put the squares on a piece of white paper to mark, but neither white nor black marking pencils really showed up well. 


 Because of the casts, I had to sew using the buttons on the machine and slow very slowly.  I was really happy with the result!  Best flying geese ever!  (Note to self:  sew slowly!)


 A finished block...
(underexposed, but it does let you see the floral in the white-on-white fabric)


I did a cross-hatch quilting pattern on the flying geese and four-patches, but I wanted to feature the quilting in the pale gray squares.  I used a simple continuous-line flower pattern that I've had success with in the past.  Rather than marking the squares, I marked on Golden Threads quilting paper and stitched with the walking foot.  All quilting except the border was done using a metallic silver thread.


By now I'd gotten rid of the casts (yay!!) so I decided to try my hand (and feet) again at free-motion quilting in the border.  I used a pattern called "Cat Tails" from 501 Quilting Motifs (Martingale), again marking paper and stitching through it.  I figured the busy pattern of the fabric would disguise my mistakes (the backing is the same fabric).  This part was quilted with white thread.


 To avoid cutting off part of the border pattern, I connected the sides in the corners with a heart.


 At last, for Stephen, bright red binding!


The finished quilt after washing.  If you look carefully, you can see the cat tails in the border and flowers in the gray squares.  I'm actually a bit sorry that I disguised the border quilting so well; it actually looked pretty good.

Stella tested the runner to be sure that Beth's dogs would approve! 

Thursday, April 2, 2015

Michigan Star

Michigan Star

 This is a pillow top that I recently finished and wanted to share.  First there's a back story...


Last summer we got some new furniture for the porch at our cabin in Michigan.  It came with some pillows, but we wanted a few more.  I decided to make covers for some pillows that I'd rescued from our previous living room furniture at home.

Fabric colors were based on the colors of the pillows that came with the porch furniture.  While we were at the lake, I string-pieced some scraps from my stash and a few pieces that I'd picked up at Hobby Lobby in Michigan and came up with the first pillow.  The original pillows have both green and blue.  I used green in the first one.

Strip-piecing (1-1/2" unfinished)

Cut into squares and subcut into triangles.


I played around with the resulting triangles, looking for  something I liked.  I was planning to make one big block using four sub-blocks from the strip triangles.  So many options!


This is what I finally chose, though in retrospect, I'm not sure it's my favorite.  I think I like the second one better.


 Here it is with the borders that it needed to get it up to size.


I was reasonably happy with the result.  But we still needed a second pillow.  Fast-forward to January.  A pillow seemed like the perfect project while I was otherwise out of commission this winter.

I couldn't do much sewing while I was in a wheelchair and boot casts.  Eventually  I could get into my sewing chair and use the stop/start button to sew.  Trying to actually quilt seemed out of the question -- not enough control -- but I could do some piecing.  Yay!  If I sewed slowly using the button instead of the foot pedal, it would be OK (I hoped).  And after all, it was only a pillow for the porch.  I am pleased that it turned out so well.


I found a very nice Star Explosioin pattern on Mishka's Playground (if you don't know her site, be sure to visit!).  Slow paid off!  This is probably the best execution of flying geese that I've ever accomplished (damning with faint praise, but still...).  To see the pattern and directions, here.

I like the blue much better than the green.  In retrospect, I think I'd use blue for the outer [gold] squares.  Still, the colors really do work together.

The block turned out to be a tad large for the pillows I wanted to use.  Guess I'll have to make a bigger pillow or use this for something else.  Decisions, decisions.


Friday, March 27, 2015

For Greta, From Jenny Doan

My newest granddaughter, Greta, was born last May, but I'd already started working on her quilt.

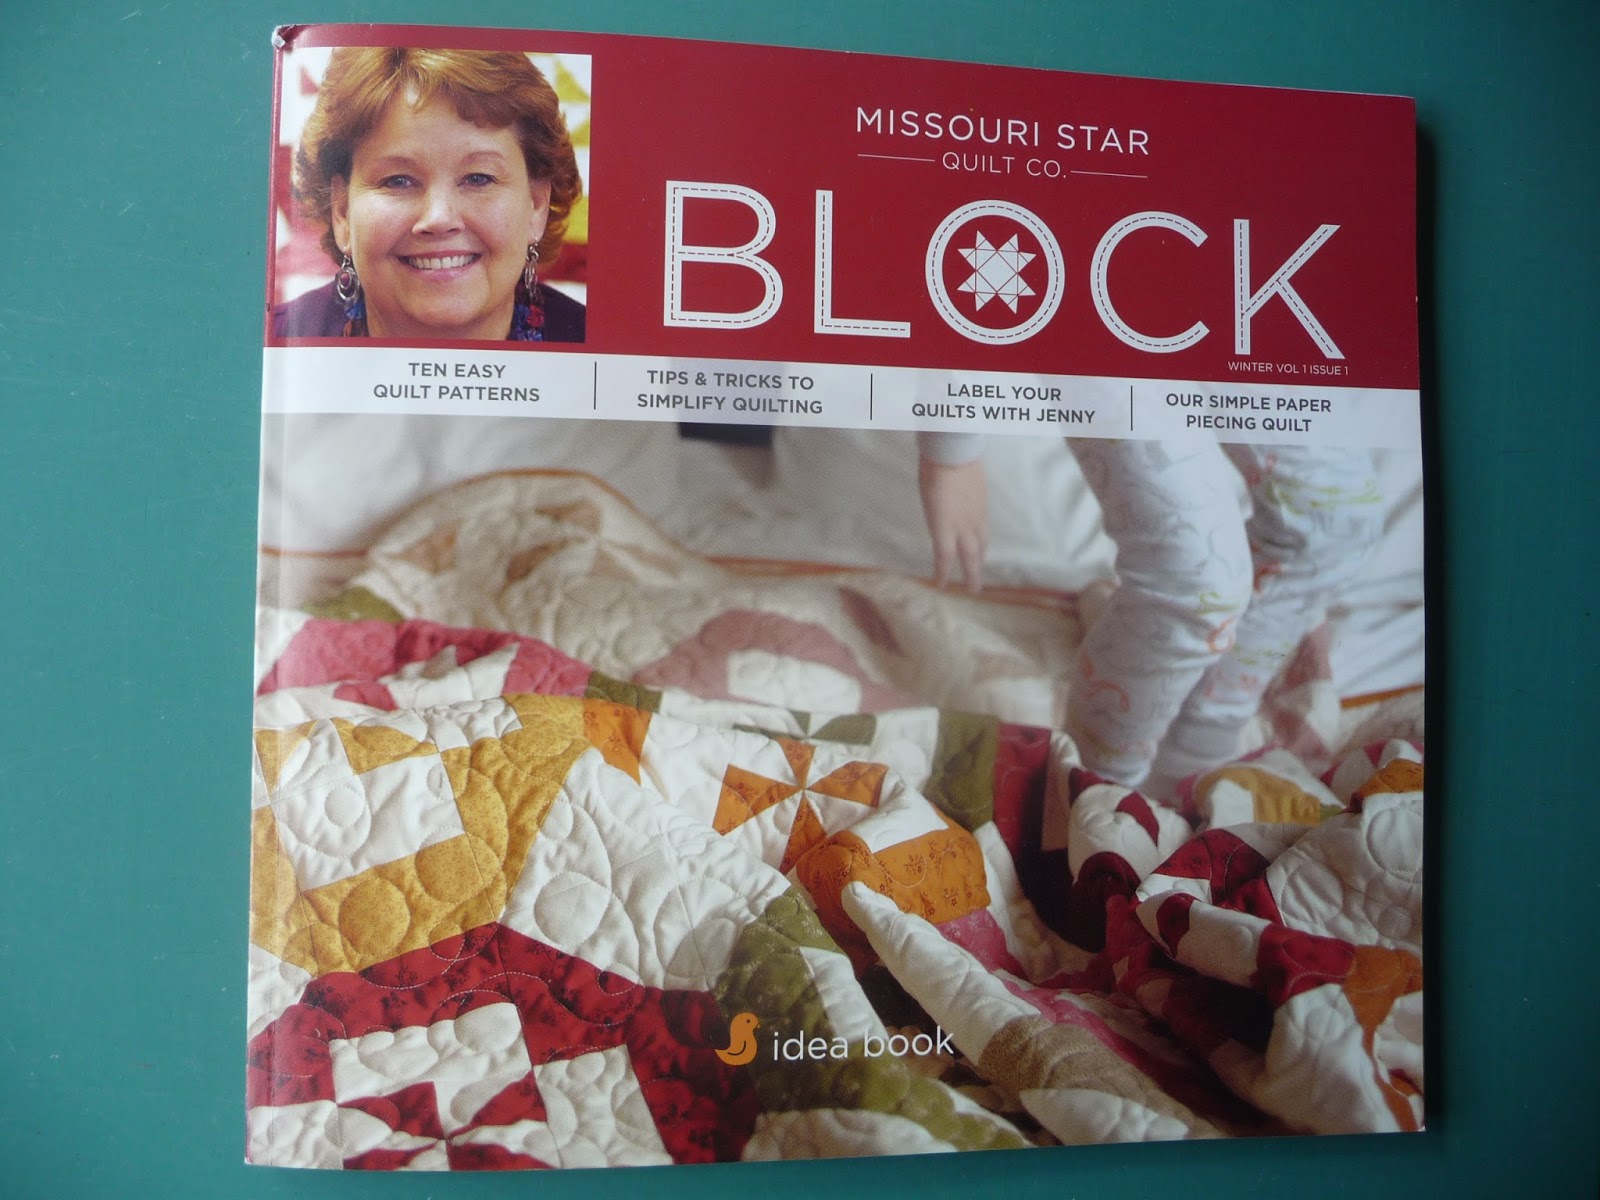
I love the Missouri Star Quilt Company's tutorials with Jenny Doan, and when she came up with the Disappearing Pinwheel, I knew that was the one.  But instead of the muted color palette that she used, I decided to use primary colors.  Babies like bright colors, and since my son and daughter-in-law had decided not to find out whether they were having a boy or a girl, the quilt had to be gender-neutral.  As luck would have it, the Disappearing Pinwheel was featured in one of the first editions of MSQC's Block magazine.


I started with one layer cake of bright colors and yardage in white that I cut into 10" squares. 


Complete instructions for the Disappearing Pinwheel blocks can be found at the MSQC website, on YouTube, and in Block magazine.

For each pinwheel, stitch one white and one colored square together around the outside edges.  Cut each stitched pair from corner to corner and press open.


 Sew the resulting half-square triangles together to make a pinwheel.  (No apologies here for switching from block to block for the photos.  The fabrics were just plain fun!).


Now, just like we did for the Disappearing Nine-Patch, square up the pinwheel blocks and the cut them into thirds in both directions.

Square up and determine the measurement  for the 1/3 divisions.


Arrange the resulting pieces as desired.  Jenny gave directions for both Churn Dash and Monkey Wrench blocks.  I fiddled around to make another one, too.  Ultimately, I preferred the Monkey Wrench.

Churn Dash.  I just didn't like this for a baby's quilt.
Monkey Wrench.   The shape reminds me of a toddler's crayons, flat on the sides.

Just seeing what else could be made.  Meh.
After the blocks were finished, I put them on my current "design wall" -- the bedroom curtains.  I had trouble figuring out the color placement, so I took black-and-white photos so I could focus on the values.  Many quilting websites sell "rose-colored" glasses that help you see value.  But all you really need to do is take black-and-white photos with your phone, tablet or digital camera.

These look a little wonky.  That's just because I was running out of pins.

Black and white photos are a great way to focus on the color value.

What I really noticed was that I didn't much like was the blocks touching each other (the way Jenny did it).  I cut some test sashing strips, and liked that much better.


I found some really cute flannel for the backing at JoAnn's.