Monday, November 2, 2020

Another One Bites the Dust!

You might remember from my last post that I had tried to free-motion an all-flannel baby quilt without success.  It was just too heavy.  But now it's done!  


This one is a disappearing 9-patch made from a charm pack I'd bought on line back in 2013.  Mistake #1.  I didn't like the fabrics , except for the alphabet print.  I still don't.  Mistake #2.  These fabrics really didn't work in this quilt pattern.  I had them all cut, but stuffed them in a bag for the next nearly 8 years.  I found them again a few weeks ago in the bottom of a bin.  Time to get this puppy out of here!


This pic looks out of focus, but it's really just the flannel.  Cozy!  Is that Nikola Tesla in the corner?

Once it was stitched up, I found some flannel for the backing and made the quilt sandwhich.  Mistake #3.  I marked the top with a clamshell template AFTER sandwiching the quilt.  I know better, really, but there you go.  Needless to say, the quilting lines are a bit funky in places.  

Mistake #4 (but really, who's counting?).  I chose the clamshell because I figured it would be a relatively easy motif to FMQ for a novice FMQer (is that a word?).  It took only about 1-1/2 clamshells to figure out that it wasn't going to work.  Back into the UFO pile while I worked on the autumn lap quilt.  When that was done, I finished this one with my walking foot.

You know how I love my quilt backs.  Aren't these guys the cutest things!  Flannel on sale at Jo-Ann!  If I were keeping this, I'd use the back as the front.  I used a silver thread in the bobbin.  You can barely see the quilting, even in the white areas.


 This one will go to Quilts for Kids.  

I've got another UFO all lined up for quilting, but I've also awarded myself the privilege of starting a new quilt.  It's been months since I did this, and it's so much fun, pulling fabrics and visiting my LQS to fill in others that I needed.  Time to set up my other machine so that I can quilt or piece as I wish.  Stay tuned!


Friday, September 25, 2020

One Down, Nine to Go!

Happy Autumn and Happy National Sewing Month!


Believe it or not, a quite a bit of sewing has been going on, but I haven't had anything  to share.  After years of fits and starts, I finally bit the bullet and dived into free-motion quilting on a REAL quilt!   I have FMQed some borders, but that doesn't present the size and weight of an entire quilt.  I had 10 (ten!) quilt tops finished, some even sandwiched and basted. Do I want to pay to have all of these quilted?  NO!!

I picked a clamshell motif for which I have a template and that I thought would be relatively easy.  I practiced, practiced, practiced on a 24" quilt sandwich and got...um...less bad.  Then I marked a baby quilt.  It's for Quilts for Kids, one of those "get the fabric out of here" projects, so I figured perfection wasn't required.  Unfortunately, the quilt is flannel on both sides, and it was so heavy, I felt I was dragging it through the mud!  Back on the quilt rack it went, and I was ready to give up.

But for once I was determined.  I pulled a quilt top that was completed 7 years ago.  It's a one-block wonder, and while I loved the process, I didn't really like the fabric and it got lost in the shuffle.  You can see previous posts here and here.  It has lots of good points for this project:

  • The batting is quite thin (not what I'd buy today) and the quilt is a manageable size (about 50" x 56"), especially with my new Janome.  
  • The top is so busy, no one will ever see the quilting.
  • The quilting is red on the top, green on the back, so if anyone does turn it over, I can pretend that the places where the red popped through are on purpose and it's a Christmas quilt!  😉

There was one drawback.  With 6 triangles coming together in the center of each block, the machine foot sometimes had trouble negotiating the bump.

Instead of the clamshell, I free-handed (no template) a motif that is similar to one that I have used several times before, but just not FMQ.  It's just a flower, of no particular sort, centered in each block. 


If you look real hard, you can make out the flower.  But as I'd hoped, you can't really see how goofy some of the stitching is.  All according to plan...


I used an oakleaf-like motif in the border.  The quilting thread is actually a fairly dark gold, but it sure doesn't look like that on the fabric.  I do like using nature themes -- no two flowers or leaves are exactly the same in nature, likewise in my quilting!


So, one down nine to go!  Several almost demand straight-line quilting, but I'll definitely continue working on my free-motion skills.  One in the line-up is a king-size quilt.  I'm still thinking will go to the long-armer just because of the size.  We'll see...


Friday, September 4, 2020

Is a Puzzlement...


Last February or early March, I embarked on a jigsaw puzzle (who didn't?).  It's a picture of eight of Bonnie Hunter's quilts, none of which I have ever made.  I barely had the pieces sorted (thank heaven for my portable puzzle table with drawers!) when we took off for Florida.  Dear reader, you know what happened then. When we returned home in May, there it was, staring back at me.💀 It took a while, but I finally got back to it.


This thing is 1000 pieces, 20" x 28", and hard as the devil.  Even sorting by color is hard, because Bonnie uses scraps from multiple projects in other projects.  So the blue that you think goes in one quilt will most likely show up in another one.  And just to make it more fun, a large part of a couple of the quilts were covered by the label, so I had no idea what those areas looked like.  I mean, I knew what the block pattern was, but didn't know what colors went where.

It took weeks to finish.  I finally ended up sorting the pieces within each quilt by shape.  But what a sense of satisfaction when it was done!!!  I left it together for a while, then started taking it apart, but the pieces were pretty well attached.  So most of it is still together.  I'm thinking of giving it to Kelli at the quilt shop to frame.  Only trouble is, I'd have to put the rest of the puzzle back together.  Argghhh.


Monday, August 31, 2020

Easiest Quilt Ever!


By the time I'd completed my Ringo Lake quilt top (minus the borders), I was ready for something simple.  Not a wholecloth quilt --  I'm not a good enough quilter for that.  And not a panel -- just doesn't appeal to me.  When I spotted a free pattern called "Playing the Scales" by Melissa Corey, I thought it would fill the bill and let me use up a jelly roll.  I have a drawer full of them, none of which were purchased with a plan in mind.  I chose a Kaffe Fassett roll called "Spring."


The pattern is so simple -- rectangles and a few squares, sewn together in strips.  Not a single seam match in the whole thing.  Perfect!  The original pattern called for fat quarters separated into low-volume (light) and high-volume (colored), but the result seemed awfully busy to me. I used the jelly roll as a high-volume and very pale gray yardage as a low-volume background instead.

I cut the background fabric into 2-1/2" strips and then rotary subcut both fabrics into the requisite number of varying lengths (most are 8-1/2").  I used a few more jelly roll strips and added few additional sizes of background in order to create the bargello effect to get a total of 31 strips.  From there, you just sew alternating print and background strips.


To make the background strips,  I used my Sizzix cutter.  Unlike an Accuquilt, it isn't intended specifically for quilting.  But it does have dies for common quilt sizes. and they are much less expensive than Accuquilt.

The model that I have is small -- you only get 2 strips at 2-1/2" wide -- and it's hand-crank, not electric, though larger electric models are available.  But it is easy to use, it's accurate, and is easier than rotary cutting if you have arthitis in your hands.  It fits right on the side of my sewing table, and I can just pop it into the closet when I'm done; it weighs next to nothing.


Some people comment that cutters like this waste fabric.  I don't think so.  Here is the "waste" from one pass through the cutter (2 strips), with a 2-1/2" strip for comparison.  If I had to do a lot of cutting with a rotary cutter, I'd likely have more waste from straightening the edge of the fabric, slipping rulers, and or mis-measuring.

I had a little trouble understanding how Melissa put the pieces together (though I later understood why she did it that way), so I figured out my own way to do it.  And no, I don't usually make a recipe as directed the first time, either!  I sewed the ends of the units with the pinked edges of the jelly roll fabric in place.  In retrospect, I wouldn't do this again, as the pieces with a pinked edge on the end tended to be a bit wonky, as pre-cuts often are.  I did need to go back and re-sew a few of these seams, and ended up trimming off the pinked sides when it came time to sew the strips together.

Sewing the strips was a breeze.  You can just blow down that seam as fast as you dare, not worrying about nesting any seams.  I had pressed the horizontal seams toward the colored rectangles, so I did try to be careful not to flip any of the seams on the underside that faced toward the machine.  The vertical seams you can press in either direction.


The quilt is a little longer than you see here; I cropped out the mess on the side of my sewing table.  There won't be any borders, so this is pretty much what it will look like when it's done.  I forgot to notice how many jelly roll strips I used, but I still have nearly 400" lengthwise of leftover strips, roughly 10 jelly roll strips.  I plan to sew them together end-to-end with a regular 1/4" seam to make the binding.  If I make this pattern again (and I think I will), I'll take the time to do the math and see if I can get a twin-size quilt out of one jelly roll.

Monday, June 22, 2020

Valuing Quilts

Lately (you can guess why), I've found myself sitting in bed in the morning, just not wanting to throw back the covers and get on with the day.  I was marooned out of state during the first two months of the pandemic in the U.S. (more on that another time), and when I got home, I was so intimidated by all the unfinished quilts lying around my sewing room that I just couldn't jump back in.

So I've found myself studying the quilt on my bed. It's from a block swap several years ago.  I added sashing and setting triangles, and multiple borders (five!!) in order to make the quilt fit our bed, a queen size with a very deep mattress and box spring.  Apologies in advance for the poor lighting, which makes the drab Civil War reproduction colors even drabber.  I'm so over them.


But we're here to talk about the blocks...  The twelve Churn Dash (aka Monkey Wrench) blocks in this quilt were each made by a different quilter, but all using the same block pattern and size and using a limited selection of fabrics.  Although I no longer enjoy the these fabrics, it's been interesting to see how different each block looks, differences attributable to the choices of fabrics.

In this block, because the inner corners of the half-square triangles (HSTs) and the inner rectangles around the center square are all dark, while the other fabrics are light, this block emphasizes the classic Churn Dash pattern.


On the other hand, in the block below, all the rectangles and the center square are dark and the HSTs are medium and light.  This arrangement of fabrics gives the impression of a light square in a medium square (like a square-in-a square unit) with a large plus sign completely overlapping both.


Here's another example of a "plus-in-a-square" block with the light and medium fabrics in the HSTs reversed.  This gives the block some interior movement, going from dark in the center out to the lightest colors.


And finally we have a "mini-plus," where the dark center fabrics don't reach all the way to the edge of the block.  Because all the fabrics that touch the plus are of medium value, and only the corners are light, there is even more of a square-in-a square effect.


What's nice in this quilt is that you don't get a sense of the same block marching by, row after row.  By the way, do you know the trick of determining the value of your fabrics when selecting them for a project?  You don't need to go buy those rose-colored glasses that are marketed to quilters.  Just grab your phone and snap a pic of your fabrics together.  Then bring the picture up in your photo app and set the color setting to mono (black and white).  It's a great way to figure out the value of some of your more challenging fabrics!

I'm finally back at the machine, so I'll be posting more soon.  See you then!

Friday, March 6, 2020

An Orphan Finds a Home

There are two things that I'll bet we all have:  a favorite pair of jeans that you can no longer buy, and orphan blocks left over from previous quilting projects.

My favorite jeans are a pair of Levi's.  They were supposedly skinny-leg, but over time they eased into a slim, but not tight, fit in the legs.  The waist sits just right, and they are wonderfully soft.  However, the legs have worn through.  I was still wearing them, but my knee was getting cold!  Plus, I was getting tired of people telling me that some people pay a lot extra for this look.


One day, as I was tidying up my sewing room (i.e., moving things around and putting them in piles),  I re-discovered some orphan units and blocks in a baggie.  There I discovered a block that I had made years ago for the Barrister's Block project.  It was just the right size for a colorful knee-patch that screams "I am a quilter!"

I turned the jeans leg inside out and trimmed off most of the loose threads.


Then I cut a patch from a remnant of fusible interfacing just big enough to cover the entire ripped area and pressed it.  Black would have been better, but whatever.


I turned the leg back right side out, positioned the block, laid down strips of fusible hem tape around the edges of the patch, and pressed again.


Now to stitch down the patch.   It was time to haul out my sewing machine that has a free arm and grap a denim needle.  


Fitting the leg over the free arm and sewing the first side was easy, but making that right turn and bunching up the rest of the leg against the machine was tough.  I did manage to sew through several inches of the rear.  No project goes un-ripped, even if it is a rip project!


I wasn't worried about laying down a perfect satin stitch (as you can see).  After all, these were jeans with multiple rips and a quilt block made from scraps.

There were no other big rips, but there were several places where the fabric was very thin, so I went back and reverse-interfaced those areas to stablize them.

Voila!  Wearable favorite jeans that spark conversations and make me happy!  I wonder what I'll be able to do with the other things in that leftover bag?


Tuesday, February 25, 2020

Light at the End of the Tunnel!

When last we crossed [quilters'] paths,  way back in January(!), I was just starting to build the sashing rows for my Ringo Lake quilt. 

On the design wall.
It was quite a job.  There are 49 pieces in each of 50 blocks for a total of 2450 little bitty pieces.  The 120 sashing strips have 6 pieces each, 640 in all, plus 49 cornerstones.  No wonder the top took so long!

But wait, there's more!  The blocks are set on point and the setting triangles are pieced, too.  The small ones on the corners of the quilt are 2 pieces each (4 * 2 = 8).  The large ones on the sides and ends have 5 pieces (5 * 18 = 90).  All for a grand total of 3327 pieces!!  And the seams had to match?!  And the points had to be pointy?!

But at last, this week I added first border!  Wahoo! Bonnie Hunter suggested that this pattern didn't really need a border, but I wanted the quilt to fit my bed (I am sooo over the Civil War reproduction fabrics in the current one).  So I will be adding 4 borders. 

The first one was a real challenge.  With all those pieces and seams, it was no surprise to me that the quilt was too wonky to square up.  The ends were fine, but there was a difference of over 1-1/2" between the sides -- way too much to ease in.  So I cut the two side borders the same length, then eased in 1/4" on the longer side, and eased the border 1/4" on the shorter side.  The same will happen with the rest of the borders until the two sides are the same (-ish).  Plus, there were so many points to try to keep while easing.  And the border fabric frayed like crazy!  I actually had to rip out one section and put in a replacement.  Thank goodness I had enough!  The rest should be fairly straightforward, though (so to speak).


I did get two wonderful infusions of assistance.  Above, I took the completed quilt center in to show it off to my Thursday morning quilt group and to have them help me figure out the border situation.  These women are the best!  They are so creative and have wonderful eyes for color.  They completely changed my mind about what I was thinking of doing and pulled bolts from the shelves to take them for a test drive.  I can't wait to see how this looks once all the borders are on!

The second assist came from my wonderful (and equally talented) husband.  In all the time I've been quilting, I've had to use either my bed or the kitchen island when I needed to work in a big space (determining a full layout or cutting a large piece of fabric, for instance).  The floor is no longer an option.

No, I don't know what that white thing is on top of the quilt!

After a friend volunteered her ping-pong table for sandwiching the Otsego quilts, I knew I needed something like that.  Last weekend, after my husband had just finished his own Big Winter Project (see below), I asked him if he would make a table for me.  Two days later, it was done!


The only place to put it was in the basement, where it is plenty chilly, but that doesn't bother me at all.  This puppy is STURDY!  What a joy to be able to lay the quilt out flat (well, as flat as it's ever going to be, anyway).  I think I'll start calling the basement my Quilt Deli, since I have a lot of sandwiches to make!

Trimming wavy Border #1 on a BIG, FLAT table!

And what was the man's Big Winter Project?  I'm so glad you asked.  One year it was a boat.  Then it was a dining room table.  And this year:


So, after all this, I still love the quilt, but decided that my next project will have only big pieces and no matching seams or triangles.  Whew!

Friday, January 3, 2020

Happy Holidays!

Better late than never???  When I got back from traveling for the holidays, then recuperating (sort of) from the gift virus from my Memphis family, I discovered that I'd never posted this!  Oh, well, one less thing to worry about at the beginning of the year...

[Belated Post]
It sure is a busy time of year, isn't it?  We quilty folks have been sewing up a storm, as well as doing all the other things that need to be done for the holidays and in everyday-life-as-we-know-it.  I hope you've been productive and having fun, too!

Shortly after my last post (mid-October!?), the hubster and I headed out to San Francisco for some serious grandparent time.  Loads of fun, but exhausing.  With kids 5, 2-1/2, and 1 year old, not even a hand-sewing project got tackled.  (And did I mention that my son's dog had, um, lower intestinal tract problems?).

But before we left home, I did manage to sew up a big chunk of the selveges that I've been saving for a few years.  I finally figured out what I want to do with them.  And the first step was to sew them onto a muslin foundation sized for the project that I have in mind.

First I sorted the strips by length and color.  Little ones went into the bin that will eventually become stuffing for an ottoman.


 Laying them out on a bed didn't work all that well.  The old wood drying rack that I got for my freshman year in college was the perfect tool for keeping the sorted selveges organized!


It was so much fun going through the strips and sewing them up!  There's some that Gina gifted to me from one one of her projects.  There are some blues from Janice.  Oh, that's from my Otsego Lake quilts!


All done for now trimmed and squared.  This was a test piece that I'd started in Michigan.  I downsized when I realized how many different length strips I'd need.


Once  the project pieces were done, I didn't want the drying rack hanging around.  Plus it's winter, and I'll need the rack for drying sweaters.  But lo!  What hanger through yonder closet shines?  Perfect for keeping the selveges organized(ish) while taking up nearly zero space.


File this under UFOs, but I have pulled fabric from my stash to continue after the holidays.
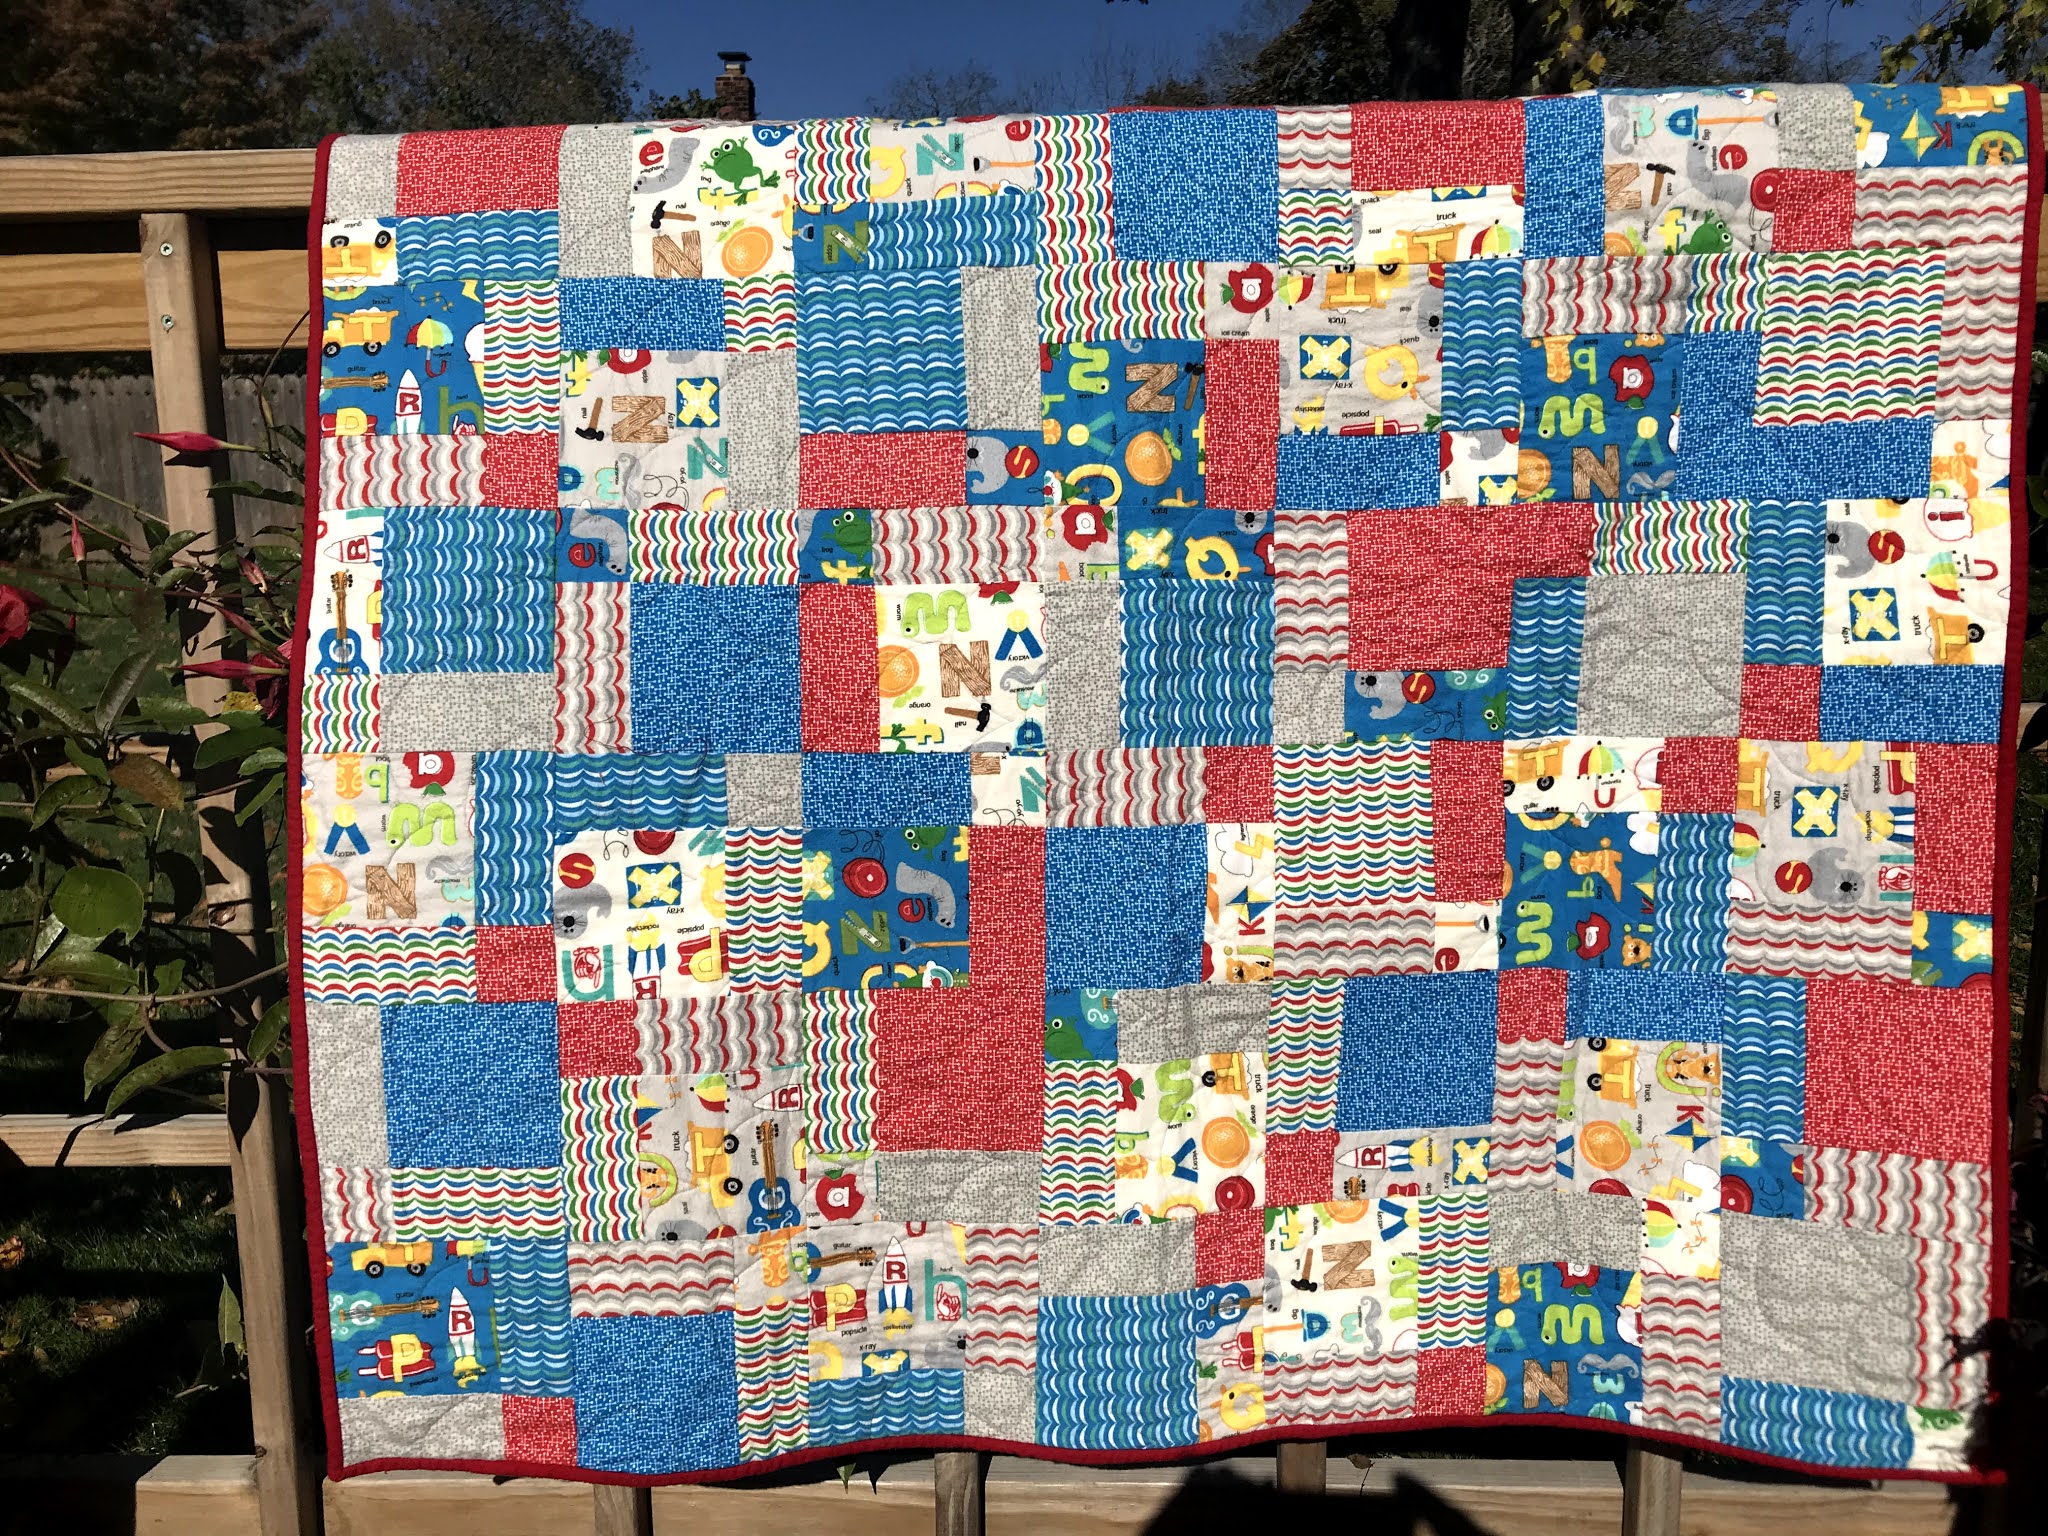
On the Small Project front, I made aprons for Christmas gifts.  They were super-easy, just cut from a panel and stitched up.  I did another stash-pull to line them.  Didn't bother with photos, but perhaps I'll get a pic of one of the recipients wearing his.

As for Large Projects, I've continued to plug away at the Ringo Lake quilt (see prevous posts on the sidebar).  I've been working on it exclusively at my Thursday morning quilt group, so progress has been slow but steady.
50 blocks done!  Now for the hard part -- squaring up.
Unusual for a Bonnie Hunter Quiltville pattern, in my experience, the instructions for completing the final steps were not very detailed, at least not as much as most of her other patterns.  Or maybe my intuition or experience failed me.  I finally had to sit down with a blown-up copy of the quilt and trace over it to figure out how things were supposed to come togther.  I'd already sewn sashing to several blocks incorrectly, so it was worth it to backtrack, unsew, and get it right before proceeding.


 30 blocks with individual sashing strips added to two sides (A).


 Remaining 20 blocks with no sashing (B)


A strips to the left, B strips to the right.

Starting to come together!  I'll do a full test layout when the A blocks are finished.  Then I'll plug in the rest of the sashing units, trying to avoid having the same coral fabrics right against each other.  Then I'll sew up full strips with the brown cornerstones and pull it all together.

We're off to Memphis for Christmas week, so again a hiatus in stitching.  Meanwhile, have a wonderful holiday.  See you next year!

Update January 3, 2020

No sewing got done in the last 2-1/2 weeks, but today I wanted to power through and get SOMETHING (anything!) done.  It was slow going, but by mid-afternoon I was getting back in the groove.  Yay!  I'm thinking that tomorrow I can finish sashing the sides of the Ringo Lakes A-blocks and make some headway on laying out all the blocks and the rest of the sashing strips.  I love the colors and the pattern but I surely will be glad to get this quilt top done.

I hope you enjoyed your holidays, and HappyNew Year to all!