Monday, May 28, 2012

Catching Up!

Despite the nice weather here in northern Michigan during the past week (mostly), I managed to catch up with all Randi's Sow-Along blocks.*  I was behind because I'd been madly trying to finish quilting and binding a quilt for my friend before she came to visit.

This quilt-along is wonderful opportunity to learn.  The assumption is that the participants know what they are doing, but that's not necessarily the case (c'est moi!).  My final quilt will NOT be going to show-and-tell at the quilt guild.  But I am gaining so much experience along the way!

* Oops!  I just noticed that she posted a Bonus Block yesterday.  Oh, maaaann!

Union Square


I'd only managed to sew up one of the six blocks from the May posts before I headed north.  This one is called Union Square.  There are a few wonky spots, but I like the colors.


Once I got up to my vacation home in Michigan, I started in on the rest of the blocks -- sewing machine at one end of the porch table, eating area at the other end (after I'd cleared out my cutting mat and a few hundred dog's ears!).

The issue that I ran into was the lack of a quarter-inch presser foot for my machine.  As I mentioned in an earlier post, I found a ruler that made easy work of the HSTs.  But I could see that my effort to mark out a stitching guide on the machine wasn't working -- for whatever reason, the seams were just too wide.  So some of these blocks look OK, but they are undersized.  (BTW, I have ordered a presser foot that should arrive tomorrow.  Whew!)

Fruit Basket


This block has muslin as the background.  It's a bit hard to work with, but I really like the look.

Fruit Basket

Battlegrounds


This is a Battlegrounds block.  It is based on a pattern by Lori Smith (the full attribution was unavailable when I printed out the directions).
Mini Battlegrounds

I had cut out all the squares to make the HSTs before I left home.  Unfortunately, when I stitched up the block, it was waaay small (more like 4-1/2" instead of 6-1/2").  Ack!  It turns out that the directions never said how big to cut the squares.  Lacking much experience, when I read "HSTs 2" unf.), I cut 2" squares.  After making the same mistake a second time, I sat down with Quilt Pro and figured out that 2" unfinished HSTs required starting squares of 2-1/2".   Third time's the charm!

Silver Lining


By now I'd used most of the 4" squares that I'd brought with me for just-in-case.  I cut down some of the rest, but it was time to make a trip into town to Delphine's Quilt Shop.  Whoa!  They had a sale basket of fat quarters for $1 each!!!  Of course I bought way more than I needed for this block, but it was an offer I couldn't refuse!  This is the final block -- still a bit undersized because of the seams, but definitely an improvement!
Battlegrounds (Lori Smith)

Yankee Puzzle


That took care of the blocks from the first week in May.  Onward!  I was really happy with this Yankee Puzzle block.  The center came together perfectly!  The photo in the directions didn't show the final block, so I was happily surprised at the motion that appears here.  This block and the two that follow are from a book called Teach Yourself Blocks from the Past by Marie Henry (available on Amazon).

Yankee Puzzle

Aunt Sukey's Choice


Well, sometimes you win, and sometimes you don't.  I was pretty happy with the flying geese units here (the fabrics are particularly nice to work with), but there's some real wonkiness going on (maybe I can tug a bit when the blocks are assembled).  Not to mention that I had the light fabric backwards in one square!  Hah!  That's what makes it unique, right?
Aunt Sukey's Choice

Road to Fortune


The colors in this block are pretty -- they don't show up so well in the photo, but the outside dark triangles are a midnight purple, really striking.  I did this one kind of scrappy, and I think the effect is good.

Nonetheless, the block was actually a bit of a disappointment for me, even though the construction looks great. Since the directions didn't show how to sew the units together, I tried to find the block on the web, but came up empty-handed.  I did my best, but I'm not sure that the outside triangles are put together right.  Maybe finishing the block will help.  Any ideas???
Road to Fortune

TBD


Well, one thing to look forward to from this project is a few more orphan blocks!  The directions for the Fruit Basket block give you enough pieces to make a second block.  I did the initial piecing and will finish it sometime.  The little squares in the photo below are from the second attempt on the Battlegrounds block.  The HSTs are stitched but not cut -- it was clear that they were too small.  I guess I'll put them together at some point.  And because by this time I was out of my mind, I miscalculated the number of squares I needed when I finally cut the 2-1/2" squares, so I have a complete second set of HSTs ready to go.


Thursday, May 24, 2012

My Northern Studio

My Otsego Lake quilt (or at least some pieces of it) have come home.  I've set up my "quilting studio" in my cabin on the lake for a 10-day one-person retreat.  It's a bit primitive, but it works (more or less).  You can see the lake through the windows (hence the glare).


Yes, that's a picnic table on the front porch.  The machine is a little Singer, devoid of doo-dads, that I picked up last summer for $89 at Meijer's Thrifty Acres.  I spent the last few days before I came up here cutting the pieces for the five quilt-along blocks that I'm behind on and the block for my Simple Sampler class.  I also brought along my small cutting mat and other tools and a bagful of pieces for the Otsego Lake quilt.

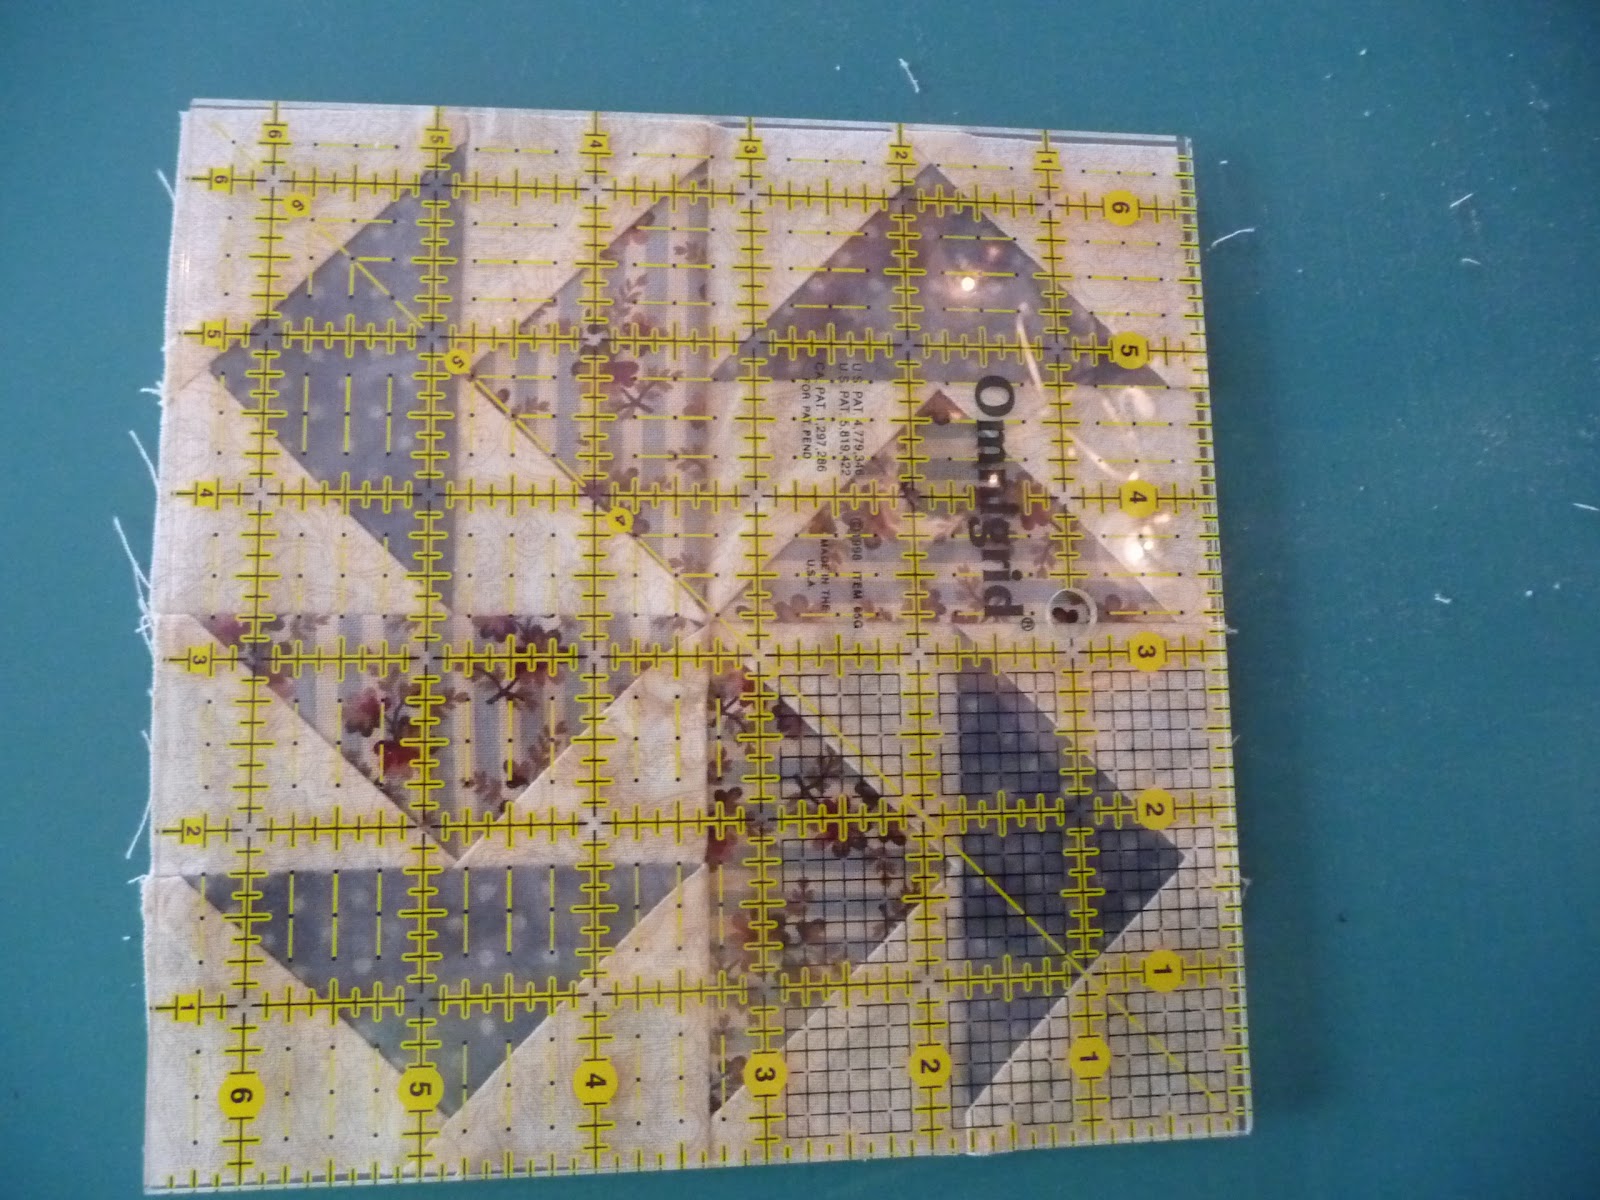
I immediately ran into an unanticipated problem.  The Singer doesn't come with a quarter-inch quilting foot.  I ran a strip of freezer tape over the machine bed to mark out the quarter-inch line, but I couldn't use it to sew the the half-square triangles, since the squares cover up the tape.  After much head-banging I drove back into town to search for a solution.  I found a little half-inch ruler with a marked center line.  You just line the center on the diagonal of the square and mark along either side for your sewing lines.  This puppy is going to get a work-out!


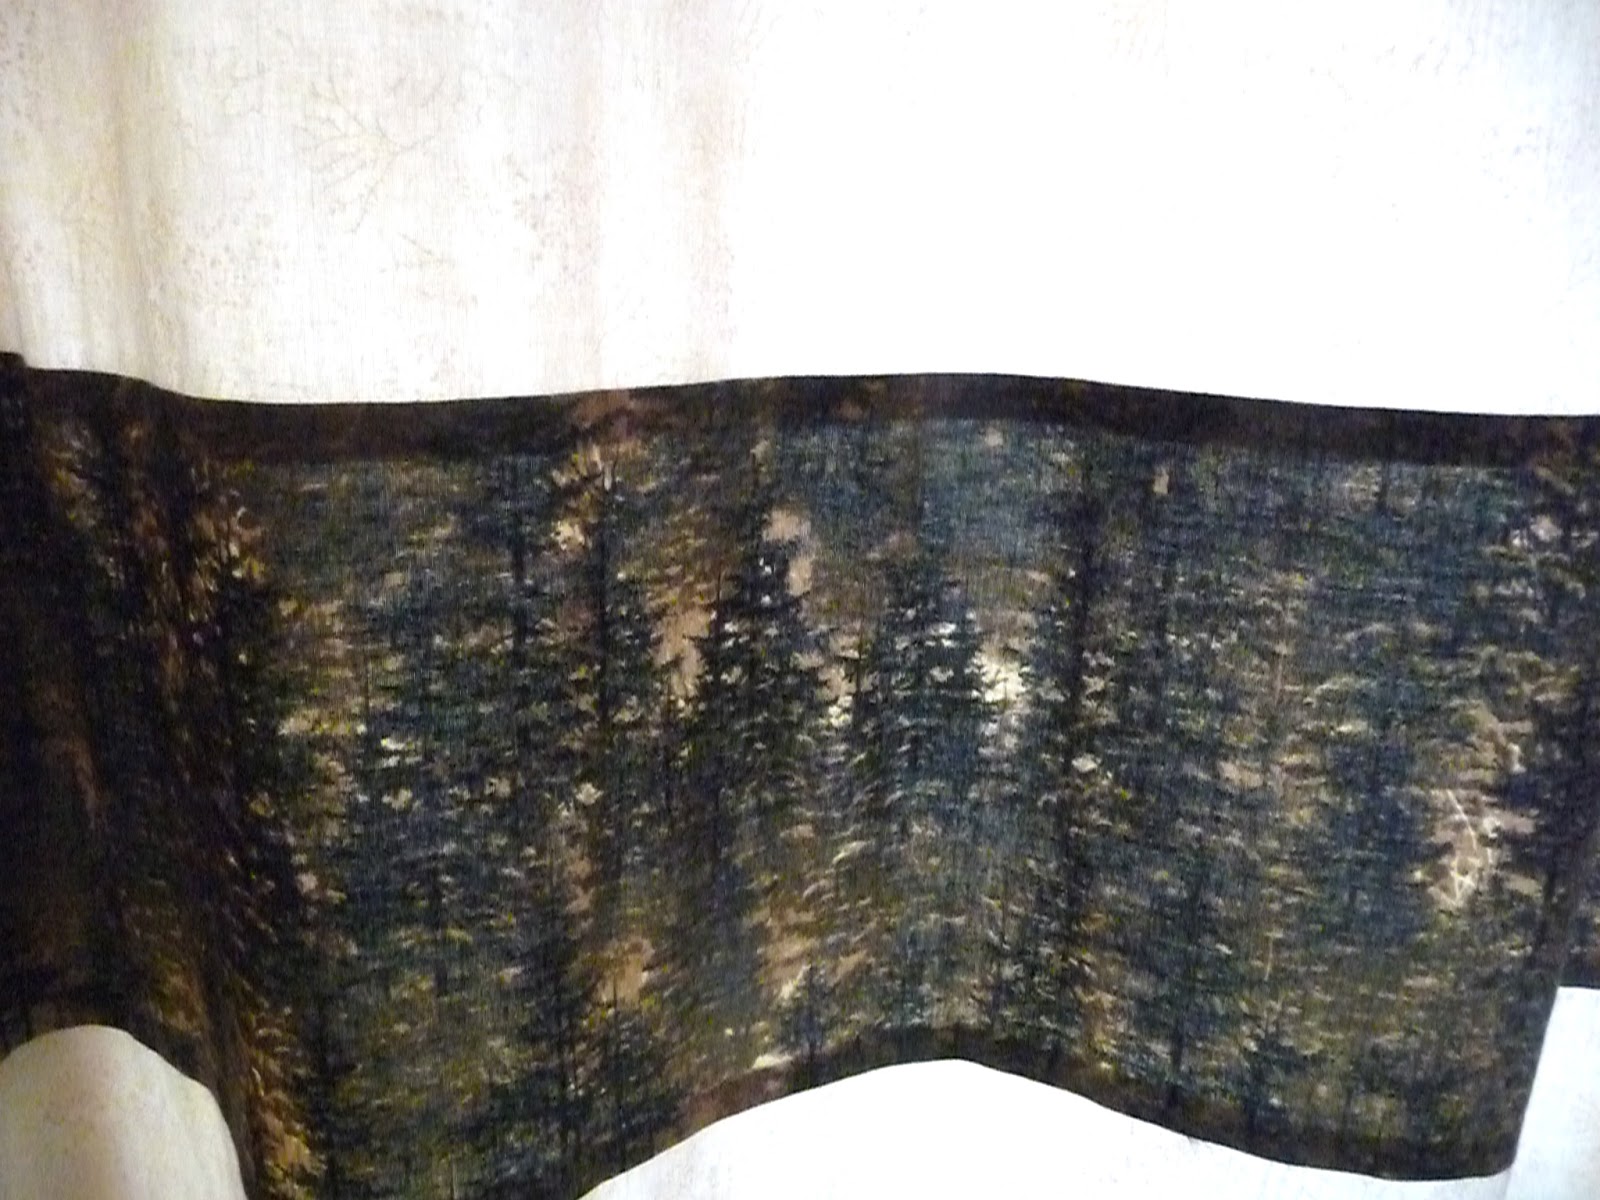
By the way, these are the curtains that inspired the Otsego Lake quilt.  I made these last summer; the light and dark are the fabrics that make up the centers of the two alternating blocks in the quilts.


Below is a close-up of the "woods" fabric.  Now that I see these again, I'm thinking of maybe adding a narrow strip of red above and/or below the woods, to go with the red squares in the quilt.  But that will wait for next summer -- I want to see what the quilts actually look like, first.


These are the Otsego Lake blocks...
 

Thursday, May 17, 2012

Kathy's Clowns

Remember Q-911, the quilt that needed emergency treatment to survive?  It is finally done and can now be revealed as a gift for one of my favorite people, my dog-loving friend and cohort in childbirth, Kathy.  We were roommates in the hospital when we each had our first child, and despite a thousand miles between us, we still have such an easy friendship.  So when she retired from teaching, I wanted to make her a special quilt.  I found the large dog-print fabric and started from there.  You can re-visit previous posts for the backstory. 

Kathy's Clowns

Anyway, I learned a lot about free-motion quilting while making this quilt -- one of my goals for this year.  The quilting in the blocks is better than that in the sashings, which I did first.  The sashings are stippled.  The names of each of Kathy's dogs are quilted into the horizontal sashings, flowing from the stippling and back again.  The quilting in the vertical sashings ends in a heart where it meets the horizontals.


I used the same paper to quilt the names that I used to quilt the Charming Baby quilt.  I found a font that looked nice and could easily be quilted, copied it onto the paper, and pinned each name to the quilt.  I used a fine-point permanent marker, so if any tiny bits of paper were left, they wouldn't stain the quilt when it was washed.


It was easy to tear away the paper after the quilting was completed.


For the blocks (rectangles of the dog print), I just stitched around the dogs on the outside edges of each block and then around each separate dog in the center.  It's not echo stitching -- I really couldn't get a consistent distance from each dog, especially where they were really close together.  So I just went with the flow.  The end result was that I had to bury about 250 ends where I'd had to break thread. Not my favorite thing to do!


For the outer border I stitched three parallel lines in a variegated black/white thread called "Piano".

My original plan for the binding was a rust color, which I also used on the backing since I didn't have enough of the primary fabric.  But I really didn't like the way it looked as a binding.  Back to PQ, where I found a yellow/fawn fabric (same print as the dark brown inner border) that really pulled the whole thing together.


Backing with dark brown and rust inserts and "new" binding.

The main dog blocks, sashing and backing are all from the same group of fabrics (you can see the paw prints on the sashing and the blocks).  The backing is great -- the leashes and the loops from the quilting around the dogs fit nicely together.  I didn't try to change bobbin threads to match the backing, since the backing fabrics varied as well.


This quilt is called "Kathy's Clowns" after the old song and the fun that these dogs have brought to Kathy and her family over the years.  One of them, Niza, was my family's dog.  When we went away for a year to North Carolina on sabbatical, Kathy adopted Niza.  When they stopped in NC for a brief visit, Niza only wanted to be with Kathy.  Sad for me, but I was glad that Kathy and Niza loved each other.  She definitely deserves a place on this quilt.


Here's Kathy with Kathy's Clowns.

Friday, May 4, 2012

Mosaic Quilts!


Victoriana Quilt Designs posted a link to the most fantastic web tool!  The Victoria and Albert Museum in London has a site where you can upload a photo and turn it into a pattern for a mosaic quilt.  You can find it at http://www.vam.ac.uk/microsites/quilts/patchworkhttp://www.vam.ac.uk/microsites/quilts/patchwork.

You can select the shape (square, portrait or landscape), the number of colors (from 5 to 20), and the complexity.  For a square, that ranges from 10 x 10 squares to 30 x 30 units including squares and triangles.
Medium resolution (20x20, 20 colors)


Original photo
My approach had been to create a square grid (I used Excel) and put the photo behind it.  I printed out several copies and then started assigning colors to each square.  Eventually I decided to use triangles, as well, to capture the tips of the flames.  Using triangles, here's what the V&A Patchwork Pattern Maker came up with:

Advanced resolution (30 x 30 units with triangles, 20 colors)

It's amazing how good this looks!  It's hard to see it here, but try this:  click on the images of the original photo and this pattern and save both.  Paste them into a document, make them the same size and view them side-by-side.  Incredible!


The pattern includes basic cutting instructions as well.


I'm not sure which resolution I'll use.  I had planned to make a quilt 20 units across (plus a border) using 2" units (unfinished).  Using 30 units across, either the squares will be really small (not to mention the triangles!) or the quilt will be bigger than anticipated.  Or maybe I'll just do the medium version, which is basically what I'd worked out before.  Either way, I'll need more fabric!  :-D

Sunday, April 29, 2012

When Good Blocks Go Bad

Thank Goodness There Are Do-Overs in Quilting!

I got behind on the Farmer's Wife blocks while I spent time on other projects.  When I got back to it,  I had six blocks to cut and sew.  No worry, plenty of time, just whip those puppies out.  Um, you can see where this is going to go, can't you?  The good news is that I'm building quite the collection of orphan blocks!

Three Blocks Were Keepers

Although Birds in the Air is one of the few blocks in the quilt-along that is also in the Farmer's Wife book, I chose a modern background fabric.  It has a marble look with rust and blue.  The blue fabric is actually a bit darker that it appears in the photo. 

Birds in the Air


I love the colors in this Sawtooth Star block.  The green is one I picked up at the quilt show a few weeks ago.


This block is called Hooker's Hat Patch (from Carol Hopkins' "Civil War Legacies).  The background fabric is muslin, which gives it a nice traditional look -- although it could use another pressing.  Later.  Sometimes I think I spend more time at the ironing board than at the sewing machine.  In fact, I know it!


Measure Twice, Then Measure Again

This Dutchman's Puzzle looked like a snap.  But I apparently measured something wrong.  There was little or no seam allowance on the sides of the flying geese.  I decided to sew them together anyway.  Maybe I'll put a pink border around it and call it a doll quilt.
Dutchman's Puzzle (sort of)
I started from scratch with a much better outcome.  See all those cute little seam allowances on the outside edges? 

Dutchman's Puzzle, Take Two


Trust me, this is squarer (?) than it looks in the picture.  This is the block before it was squared up, underneath the 6-1/2" ruler.  Not bad.

(Now that I look at these photos, they all seem to narrow on the right side.  Maybe I need a tripod!)


This one was one of the Bonus Blocks, unnamed (I'll look it up when I get a chance).   It was easy to sew, really came out nicely.  As well it should have -- this was the 4th one that I made!  I think I'll make a bunch more -- I've gotten pretty good at it!


The first time I made the block, it was absolutely PERFECT.  Well, except for the fact that it was about 1-1/2" too small!  I figured I'd measured wrong (again), but I didn't want to re-do this one.  So I put a little border around it.  But it was STILL too small!  Ack!  Time for a do-over.

Mini-me with border


 The second time, the units were looking good, but still too small.  I decided to try one more time and didn't bother to finish the stitching on this one.
Oops!

 The third time, I figured that there had to be an easier way than cutting all the individual little triangles.  Why not sew them as half-square triangles, cut them, and resew?  Well, because then you don't get identical units, idiot!  This was was too small AND didn't fit together correctly.


After all this, I went back to the Barrister's Block, read the comments (posted after I'd copied the instructions) and discovered that there was an error in the original measurements.  No kidding! 


The Milky Way block is straightforward to sew, although the little squares don't leave much room for wobbly seams.  This was -- yes, you guessed it! -- not the first version.
Milky Way, from "Sylvia's Bridal Sampler"
The first one (below) was spoiled by a poor choice of fabric.  I tried using the fabric from an old, high-thread-count pillowcase, but it had no body to it; it slipped and was generally uncooperative.  It just didn't feed through the machine the same way as the quilting cotton.  It finally started to scorch, so I reckoned it was toast.


The next post in the Sow-Along is coming in just three days.  Meanwhile, I'll swap out the 1/4" quilting foot for the darning foot, lower the feed dogs and get back the free-motion quilting.  Wish me luck!

Saturday, April 28, 2012

Mystery Sampler Quilt

And now for something completely different...

Pieceful Quilting, my local quilt shop, has started a new class that I was lucky enough to find a place in.  Each month (for only $5!) we get a small bag of fabric for a new block -- plus the class, of course.  We had a choice of two colorways, Thimbleberry (browns, rose, other muted colors), which is my usual choice, or blue and white with a touch of yellow.  I picked the latter, to get out of my comfort zone. 

As is usual for a BOM, we get a new block each month.  However, the blocks will be different sizes, ranging from 6" to 15", hence the mystery:  we have to hang out to the end to find out how to put them together!


Fabric for the first month's block, Apple Cider.

Every block will have the same floral, but the blues and whites will change each month.  I have to admit that I was a bit disappointed -- I was expecting (hoping) for fabrics like the one that we used in an earlier class.  But who knows, I may be happily surprised!

This is what I was expecting (hoping for).
The first block is Apple Cider, made up of flying geese and rectangles.  I decided to use my No-Math Flying Geese ruler and the Tiger Tape that I'd gotten on sale to make my triangles more consistent.  This turned out to be a no-so-good idea.  In retrospect, better to have tried out these tools before applying them to a project that I'll have to share next month!

The completed block is OK, but nothing to write home about.  I hope that the next one will have more of the floral and less of the white.


Apple Cider quilt block in blue/white/yellow

Friday, April 27, 2012

Good Food Night!

Well, sometimes things don't go as you expect (or hope).  As I mentioned in an earlier post, when the quilting gets tough, quilters need to eat!  It's been a frustrating week, so tonight was a Good Food night.

A new fish store has opened in my home town.  Stopped by today and they had fresh rainbow trout from Idaho, just in this morning.  Each was just under a pound, so I got two.  


I put some fresh dill and rosemary into the cavity of each fish, added a couple of slices of lemon and some salt and pepper.  Wrapped each fish in bacon (don't know what happened to the photos, but I'm sure you know the bacon-wrap drill!) and slipped them under the broiler for about 6 minutes on each side.


While the fish broiled, I blanched asparagus from a nearby farm (just get some from the refrigerator in the barn and leave the money in a plastic container).  When the fish was almost done, I heated up some butter and olive oil in a pan and tossed in the blanched asparagus to warm up.  Then added a squirt of fresh lemon just before serving

For the carbs, I boiled some red-skinned potatoes (not new ones yet, but soon).  To serve, added some snipped chives from the garden, some fresh dill, and a bit of butter.


Since we didn't have dessert, I put the bacon back under the broiler while everything else finished up.  Crumbled on top of the trout -- yum!