Tuesday, August 7, 2012

The Big Reveal!

So here's why I'm baking pies for my Dear Husband instead of sewing!


I've complained for a while that the computer desk I've been using as a sewing table just wasn't doing the job (though it seemed like a good idea at the time).  So when my local quilt store had some floor models for sale, I jumped in.  I emptied the files and other business-type stuff from the desk and then DH took over.  He managed to get the desk apart and wrestle the pieces out of the "study" (now known as my sewing room!). 

Goodbye, salmon.  Hello blue!

Then, bless his heart, he painted the room.   It was a hideous salmon pink (nice color, but not on walls!).  Now it is a restful blue/green/gray shade.  Bear in mind that the temperatures have been in the 90's, humidity the same, and no A/C.  What a guy!  Plus, he grills for dinner!

So here is the sewing cabinet, all closed up.  Small, tidy, very nice.  Much smaller than the computer desk that was there.

Voila!  It opens up into a nice, efficient space.  The machine is on a lift that can move up and down depending on one's needs.  There is a drop-down table at the back that opens up to support a quilt or to use for cutting. This will be a huge help as I continue to work on my free-motion quilting.


For the moment, I'll use one corner as a cutting area.  I was using the dining room table -- good exercise to wander back add forth,  but not very convenient.  Plus, I was always having to choose between quilting and entertaining.


I bought a mini-iron for those quick HST presses.  Still need to get a good heat-resistant pad, though.  My regular iron has an automatic shutoff -- I hope that this will be better for those stitch-and-press times. 


I'll have to wait a bit longer for the template that fits in to surround the machine when it is in the flat position.  But how nice to have it at a level where my arm is exactly even with the sewing surface.  Good-bye, carpal tunnel pains!  Now I can sew my brains out!


Meanwhile, I emptied out the old stereo cabinet as well (p.s., DH built that!).  It used to house all my non-sewing needlework (needlepoint, knitting, crochet, embroidery, etc.).  That's all in a new spot in some newly-emptied drawers, and my fabric stash that used to be in bins on the floor is now in the cabinet.
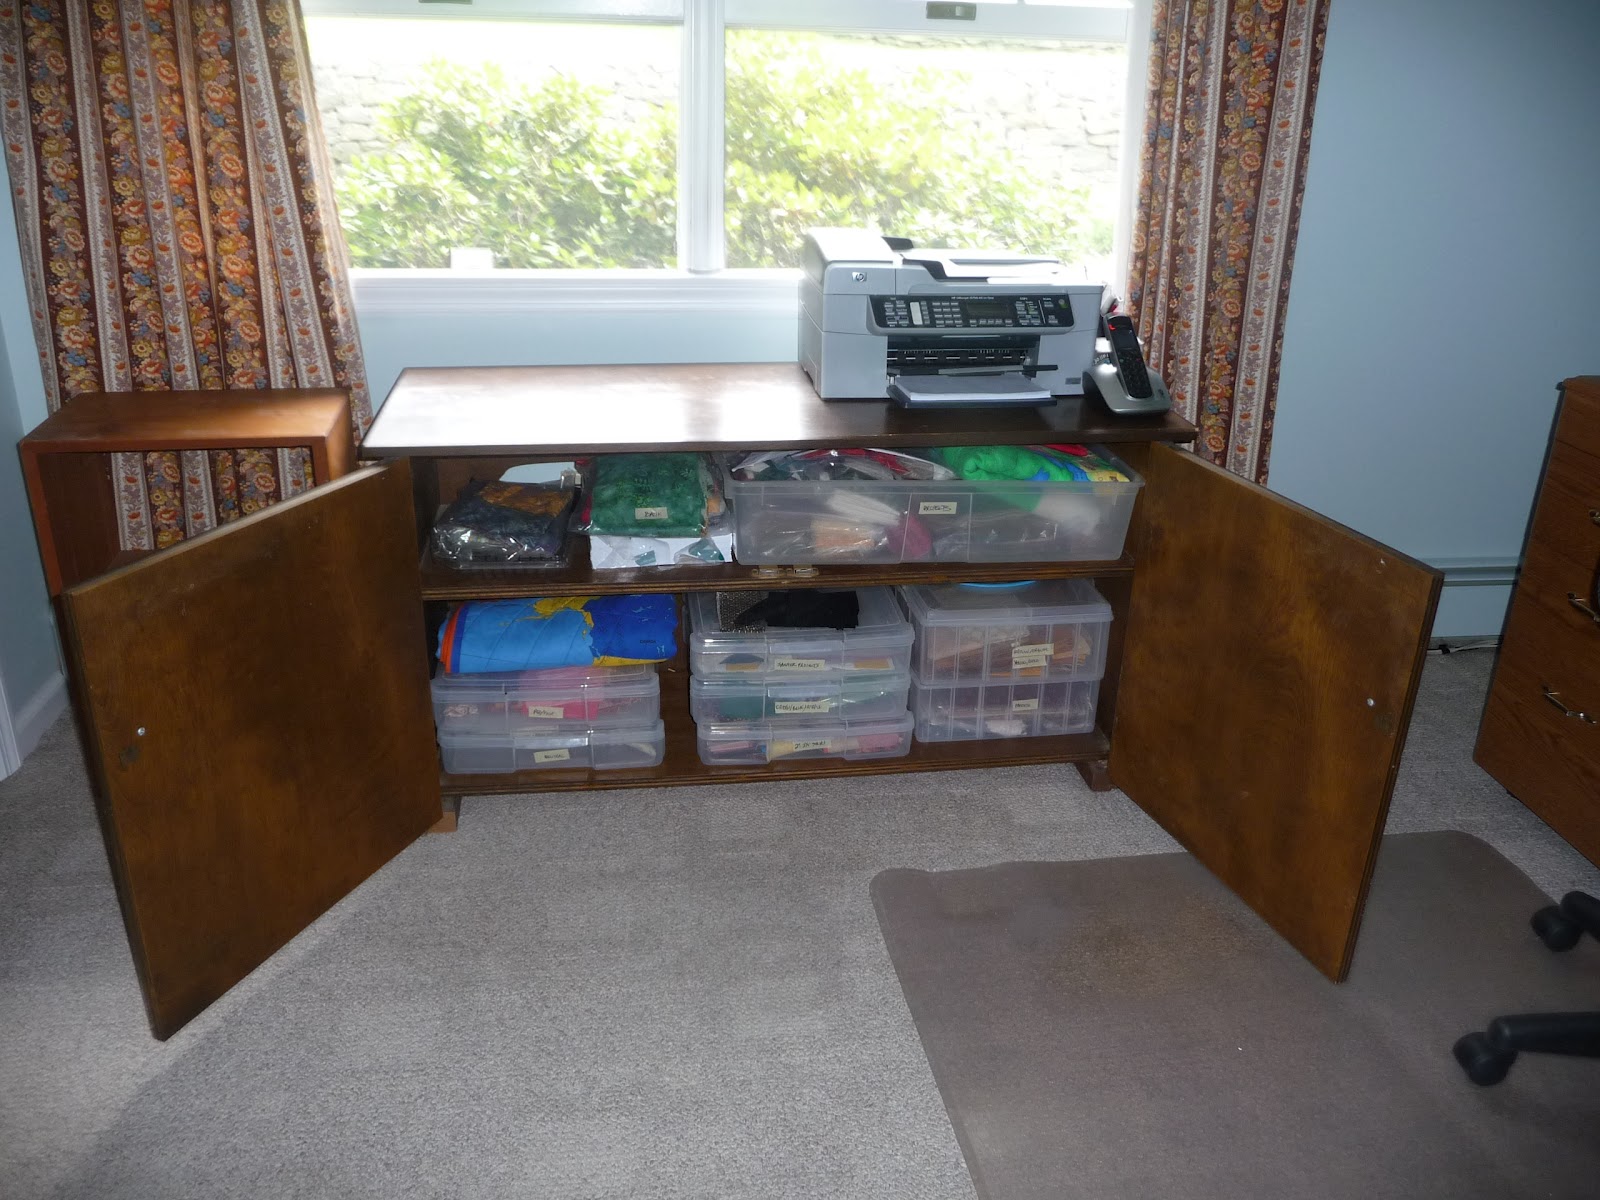

The one thing left over from when this was an office is the printer.  The cable modem and router are tucked into the cabinet, so the printer needs to be nearby.


Each bin is labeled, fabric sorted by color and size.  This system is sure to last at least 6 months, before (a) the stash gets too big, or (b) my organizational skills fail as usual.  I'm hoping for (a) but I'm not taking any bets!


Meanwhile, please don't open the closet door!  Batting, rulers, my mother's sewing baskets, miscellaneous tools and notions, fabrics that aren't 100% cotton, all flow out as if waiting for their turn to shine.


I'm off to California for a week, but I'm already itching to get back to my machine and sew!  Lots of Barrister's Blocks await...

Monday, August 6, 2012

Pennsylvania Dutch Peach Pie!

This weekend was the beginning of a major quilting-related home-improvement project and my DH came through way beyond the call of duty (more on that later!).  Since I couldn't (or he wouldn't allow me to) assist, I HAD to do something for him.  Summer on Long Island is a food lover's paradise, so I decided to make him a wonderful dessert!

The original recipe for Pennsylvania Dutch Peach Pie came from a good friend when we lived in DeKalb, Illinois.  The recipe was scrawled on a page torn from a steno pad (remember those?!).  I hope you enjoy this as much as we did!


Pennsylvania Dutch Peach Pie Recipe


Ingredients
1 cup sugar
2 large eggs
1 tablespoon milk
2 tablespoons melted butter
1/2 teaspoon cinnamon
1/4 - 1/2 teaspoon nutmeg
3-4 cups peeled and sliced peaches (about 1-1/2 lb)
1 unbaked 9" pie crust

Slice 3-4 cups peaches (about 1-1/2 lb.).  Blackberries are available at farm stands and pick-you-own places now, so I replaced one cup of peaches with one cup of blackberries.
Local peaches and blackberries -- yum!
 The peaches are so ripe, they didn't need to be blanched; the skins just slipped off.


The original recipe calls for mixing the spices with the custard, but I prefer to add them to the fruit; they seem to be more evenly distributed.  I like a lot of spice -- 1/2 teaspoons each cinnamon and nutmeg; you might want to cut back a bit.


Add two eggs to another bowl.


Whisk the eggs with 1 tablespoon milk and 2 tablespoons melted butter, then add one cup of sugar.  This will be your custard.


Put the fruit in a prepared pie crust.  I usually make my own, but this time I used a (thawed) frozen crust.  Works for me (I rarely eat the crust), but the pan is smallish, so the custard overflowed.  I like to line a cookie sheet with foil and put the pie plate on that -- definitely the way to go if you use a frozen crust in a wimpy aluminum pie plate!

Fruit added to the prepared crust

Custard added (and overflowing!)
Bake at 350 degrees for about 50 minutes.  Cover the crust edge if necessary to allow the custard to set.  Allow to cool.

Serve at room temperature or chilled.  Refrigerate any leftover.  Don't worry, it won't last long!

Saturday, August 4, 2012

Summertime Smorgasbord

Time to catch up and let you know that I haven't fallen in!  I've been busy with several projects lately, but nothing seemed newsworthy by itself.  So here are a few things that have been in the hopper...

Civil War Blocks


Randy at the Barrister's Block took July off from her Sow-a-Long, so there weren't all those blocks to cut and piece.  I used the time to finish up the twelve Double Monkey Wrench blocks for the Civil War block swap at Pieceful Quilting.


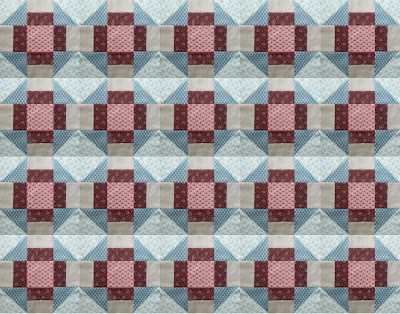
 I put them together to see how they looked, and I really liked them!  The blue and white HSTs in the corners come together to make a square-in-a-square across the blocks.  I neglected to take a photo, but here's a digital mock-up to give you the idea.


When I first started putting the blocks together, I never noticed that three of the five fabrics were directional!  And one (the blue one) was "one way only"  :-(

In the end, I had to put all the pieces up on my design wall and try to make sure that everything in a single block was going the same way.  This would be such a simple block to sew, but I had to keep every piece organized so the blocks came together.


But you know what?  One of the things I love about quilting is learning how to see, how to figure things out, and how to punt when necessary.


The last four blocks I made came out way small (1/4" overall for the block) -- I don't know why.  I re-sewed them and they were OK, but the seams are so narrow!   I almost decided just to keep the blocks, but finally took them into the store for the swap.  Fortunately, they didn't check the backs of the blocks or notice that they weren't all exactly the same.  Each participant will get 12 different blocks back in September.  I can hardly wait to see them!


Simple Sampler

The block for the July Simple Sampler class was a little pinwheel.  After ripping and resewing the last four Civil War blocks, it was nice to have something easy!


Fireplace Mosaic

Preparing my mosaic quilt is turning out to be much more of a challenge than I'd expected!  According to the project map, I need 20 different colors of fabric, and the range isn't very great -- mostly in the brown/orange/red area.  I selected a lot of scrap pieces, but also dug into my yardage and bought some fat quarters when I needed a lot of one color.  I guess the quilt will be "semi-scrappy"!  First I had to pull all the fabrics that I thought I'd want to use and marked them with the letter from the project map.

Brown, rust, dark red, orange-red, orange, ack!
Then I cut things into 2" squares and made sure I had enough of each color.  The grid is 30x30, so I figured I needed about 900 squares.

BUT!  Some of the grid squares are half square triangles.  This created two complications.  First, I had to figure out all the triangle pairs and pull out the squares that would be used for triangles.  This took some serious tracking skills -- if there's only one red/black triangle, then there will be 1/2 of a red square and 1/2 of a black square left over.  If there are 3 red/yellow triangles, then I can use the leftover 1/2 red from the red/black for the red/yellow.  Are there any extra yellow triangles anywhere?  Arghhh!


The second complication was that I'd forgotten to account for the triangles until I'd cut the fabric.  So the HSTs would be less than 2" when sewn.  After some cogitation, I realized that the quilt would be too big if I used 1/4" seams.  I'd planned on a 20x20 grid, which would have given me a 30" quilt (minus borders).  But with a 30x30 grid the quilt would be 45" -- way too big.  With 1/2" seams it will be the 30" that I'd planned and they will easily catch the HSTs.  Yes!  There will be fabric waste from the full squares, but that's acceptable to me.

One Last Thing


Last week was the 6th Annual Island Shop Hop here on the east end of Long Island.  I got to some shops I hadn't been to and picked up lots of bargains in fabric.  And it was a great opportunity to discover the difference in fabric lines among the various shops.  One was almost all batiks, beautiful but not in my plans for my next few quilts.  I didn't get to the shop that was furthest away but apparently others weren't so distance-challenged.  The grand prize winner of a new Bernina sewing machine was someone from Brooklyn!

Wednesday, July 18, 2012

Yarn Bombing!

 I didn't get to do any sewing while I was in Michigan for two weeks.  I brought along two wholecloth (panel) quilts that have been sitting in my closet for months.  Unfortunately, I got no farther than layering them.  Since I don't have anything exciting to show you, I thought I'd share a fun link instead.  Read on!
By: Stephen Crane (Photo: The Telegraph)

Yarn bombing

As some of you know, I have been into all kinds of needlework since I was a kid (just came late to quilting).  So I was delighted to find this on my Facebook wall this morning.  I was posted by
24 Blocks.  If you aren't familiar with yarn bombing, it's basically graffiti done with knitting or crochet instead of paint or markers.  There are more photos and links on this page.  Have fun!


She's Right on Time

Turn on all the Christmas lights 
Cause baby's coming home tonight
    (with apologies to Billy Joel)

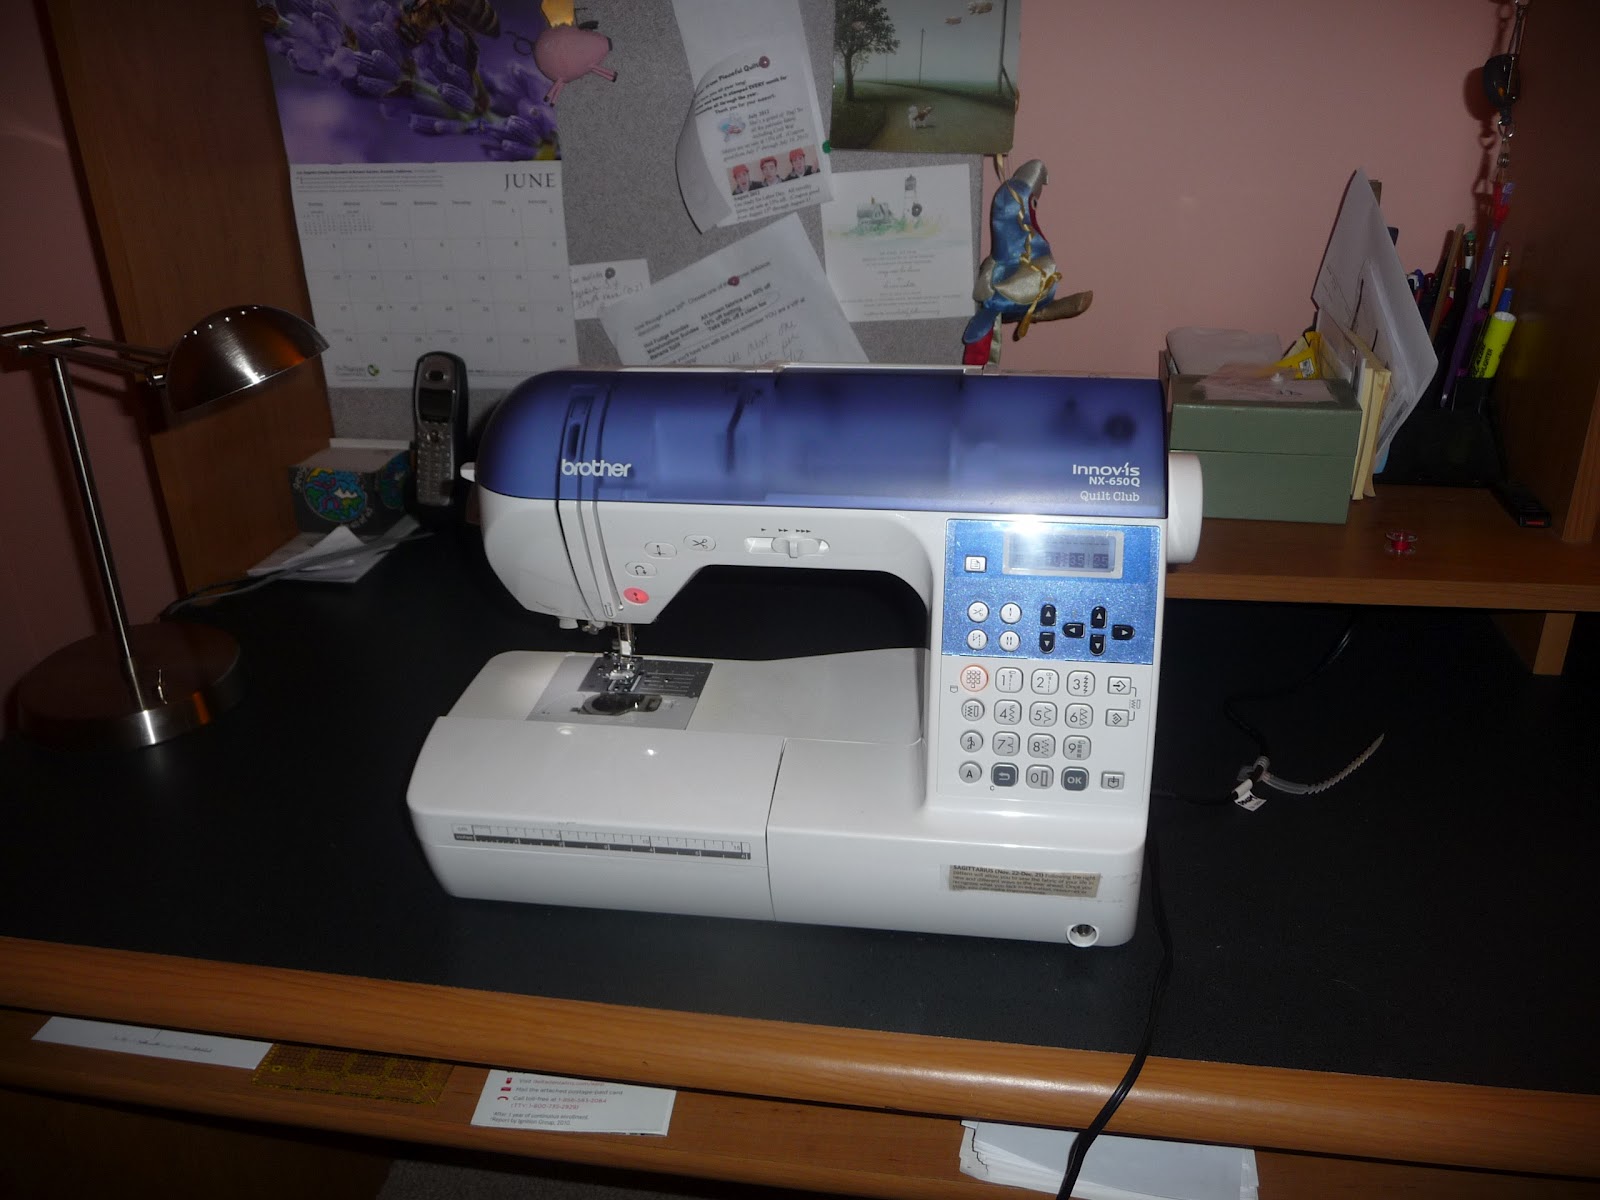
While I was away, my sewing machine went off to the sewing machine doctor for a well-baby checkup.  So when I got home, this is what I found:
So empty!
Monday I swung by the store on my way to work, and when I got home, peace was restored:

A Quilter's Path Bonus Quilting Tip:  You don't need a fancy sewing table to support your quilt.  Take advantage of whatever you have on hand.  Extra points for multi-purpose!

Wednesday, July 11, 2012

Drummond Island Quilts

Yesterday we took a day off from Otsego Lake to travel north to the Upper Peninsula ("U.P." or "Upe").  It's the 2nd largest freshwater island in the U.S., with a small year-round population, lots of summer homes and many nice rental units.  It was a spur-of-the-moment trip; we didn't take golf clubs or kayaks so there really wasn't much to do except visit the local historical museum.  Lots of old, rusty logging equipment (not exactly unusual around here), photos of early settlers, etc.  Then I found the quilts!  (In addition to kayaks and golf clubs, I also didn't have my camera, so these phone-photos are a bit blurry.  My apologies.)
Drummond Island
 This quilt has panels from scenes and landmarks around the island.  The panel above is a map of the island (in the lower right corner of the quilt).


The quilt isn't old, but it is treasured because many of the landmarks no longer exist.  I didn't get to find out which ones were gone or where the existing ones are -- there was only one docent and the joint was jumping.

The local guild made the quilt for a raffle.  The man who won the raffle didn't want it, so he sold (!) it back to the museum.  Sounds like a nice guy...

 Though several hands were at work, many panels use a thin gray yarn to depict masonry or wood siding.  The buildings are heavily embroidered.

A local church
The old Town Hall


Two old school buildings
Paper birches in the autumn


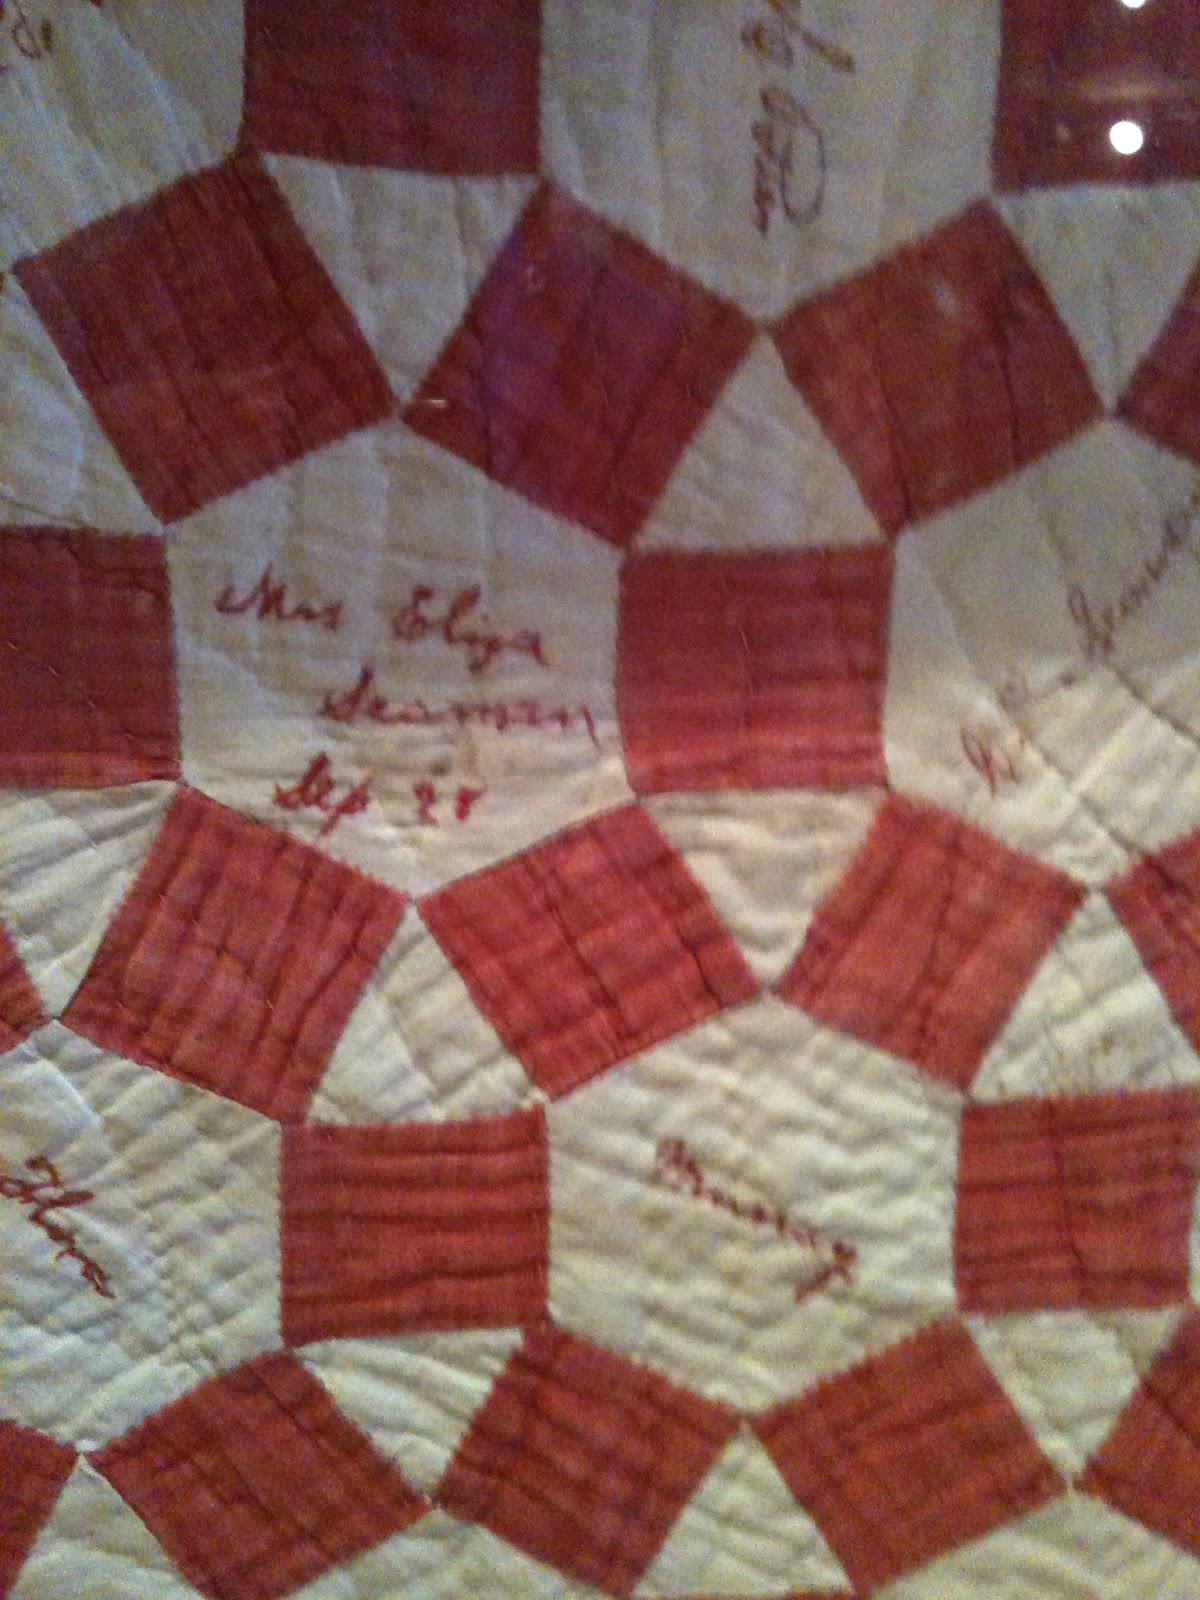
Across the street from the museum is a small memorial to a woman named Betsy Seaman.  This simple red-and-white quilt was made by her children and grandchildren for her 70th birthday, September 28, 1890.  It was signed by them all.

70th birthday quilt, made for Betsy Seaman, Sept. 28, 1890

Betsy was the wife of Murry Seaman, the first permanent settler on Drummond Island whose descendants still live there.  Murry and his first wife, Lovina, had joined the new Mormon religion in New York State and had moved with other Mormons to Nauvoo, Illinois.  Betsy became Murry's second wife in 1841.  In 1850 they moved with other Mormons to Beaver Island in Lake Michigan, and finally settled on Drummond Island in Lake Huron in 1853.  Murry died 10 years later, leaving Betsy along under pioneer conditions with 10 children.  Some family members remain on the island today.

The quilt is in fairly good shape, considering that it is over 120 years old. 


 Another quilt nearby also used the same red and white fabrics in classic basket blocks.  Perhaps it was also made by a member of the Seaman family.


Unfortunately, this quilt is in poorer condition.  The quilt was undated.


The quilting is simple, diagonal lines forming squares and triangles in the background and stitching around the seams of the basket triangles.  There is a bit of echo stitching around the basket handles.


All of these quilts, except the big Drummond Island one hanging on the wall, are in glass cabinets.  I was reluctant to use the flash, so some of these photos are a bit dark.  The background fabrics are actually very white, despite the quilts' age.

 Here's a Friendship quilt.


The quilt below is also undated, but the museum label says that it was used for 3 generations.  The seams on this Ohio Star don't always meet exactly, but every point is perfect.  The background is diagonally quilted, wide in some areas, more dense in others.  The dark pieces in the stars are echoed.
Ohio Star, probably at least 70 years old.

These hexies were probably made from old shirts and dresses.   The hexagons are about 1-1/2".  There was no information about the quilt and it was folded up in the cabinet, so it was hard to see much more than what is here.  Does anyone have any idea about the vintage of these fabrics?

Another folded quilt -- grrr!  And the handwritten information is stuck toward the back, so it can't be read.  The one is also very scrappy, with white to pull it together.  The outer border is a large scallop, very pretty.  I just wish I could see the whole quilt!


Saturday, July 7, 2012

North Country Batik

I've been at the cabin in Michigan for a week, now, and haven't sewn a stitch.  Eight people in the cabin is lively, to say the least!  But now everyone has headed home, so the other night, to celebrate our newly-empty nest, my husband and I went to a local spot for dinner.  Hanging on the wall near our table was this beautiful quilt!


I'd seen this last fall, but wasn't yet blogging and so neglected to take any photos.   The fabrics are batik, the colors are definitely north woods.  I don't know if this is a common pattern or not.  It might even have been a kit -- I'm not sure how to find out. 


Green diamonds alternate with brown squares (left), but when you step back, you can see that the light background fabric creates a larger diamond that surrounds each square.   It's going to take some studying to figure out just how the block(s) are constructed.


The centers of the brown squares and the green diamonds are similar, with a medium-colored four-patch and a dark green square at each corner of the four-patch.  The diamonds actually look like an argyle (below).


It's hard to tell whether this is a little bit scrappy.  Mostly it appears not to be; the variations in color are just the variations in the batik, I think.  But the center of this diamond does look scrappy, which makes me wonder if maybe it wasn't a kit after all.


The quilting is an all-over large machine-stitched stipple, nothing fancy.  The colors are doing all the work here.


 Sorry for the blur; I was in a rush at this point.  I didn't get a chance to take a picture of the binding, nor to peek behind the quilt for a label, because the table right under the quilt filled up with an invasive species that has become common around here, the Guzzling Golfer.

I did manage to cut the batting for two small quilts for the boys yesterday.  But last night the heat wave final broke and the rest of the week is expected to be pleasant (78-80 degrees) and sunny.  Can't stay inside sewing on days like that!