
Two Blocks, Twice
The Barrister's Sow-Along blocks are small (6-1/2" unfinished), and the little triangles still give me some grief. Both of last week's blocks had triangles that finished at 1", and I ended up making both blocks twice because I was unsatisfied with the first results. Both blocks come from a book by Lori Smith.
XQuisite
These are the "directions" for making this block:

Cut the small dark squares on the diagonal. Sew each pair of squares onto a larger background square. This is like making Flying Geese, except that you sew on the sideways diagonal instead of the long way across both small squares. The trick is to sew just a thread or two inside of the diagonal line. This allows for that tiny bit of fabric that gets "lost" when the squares are pressed back.
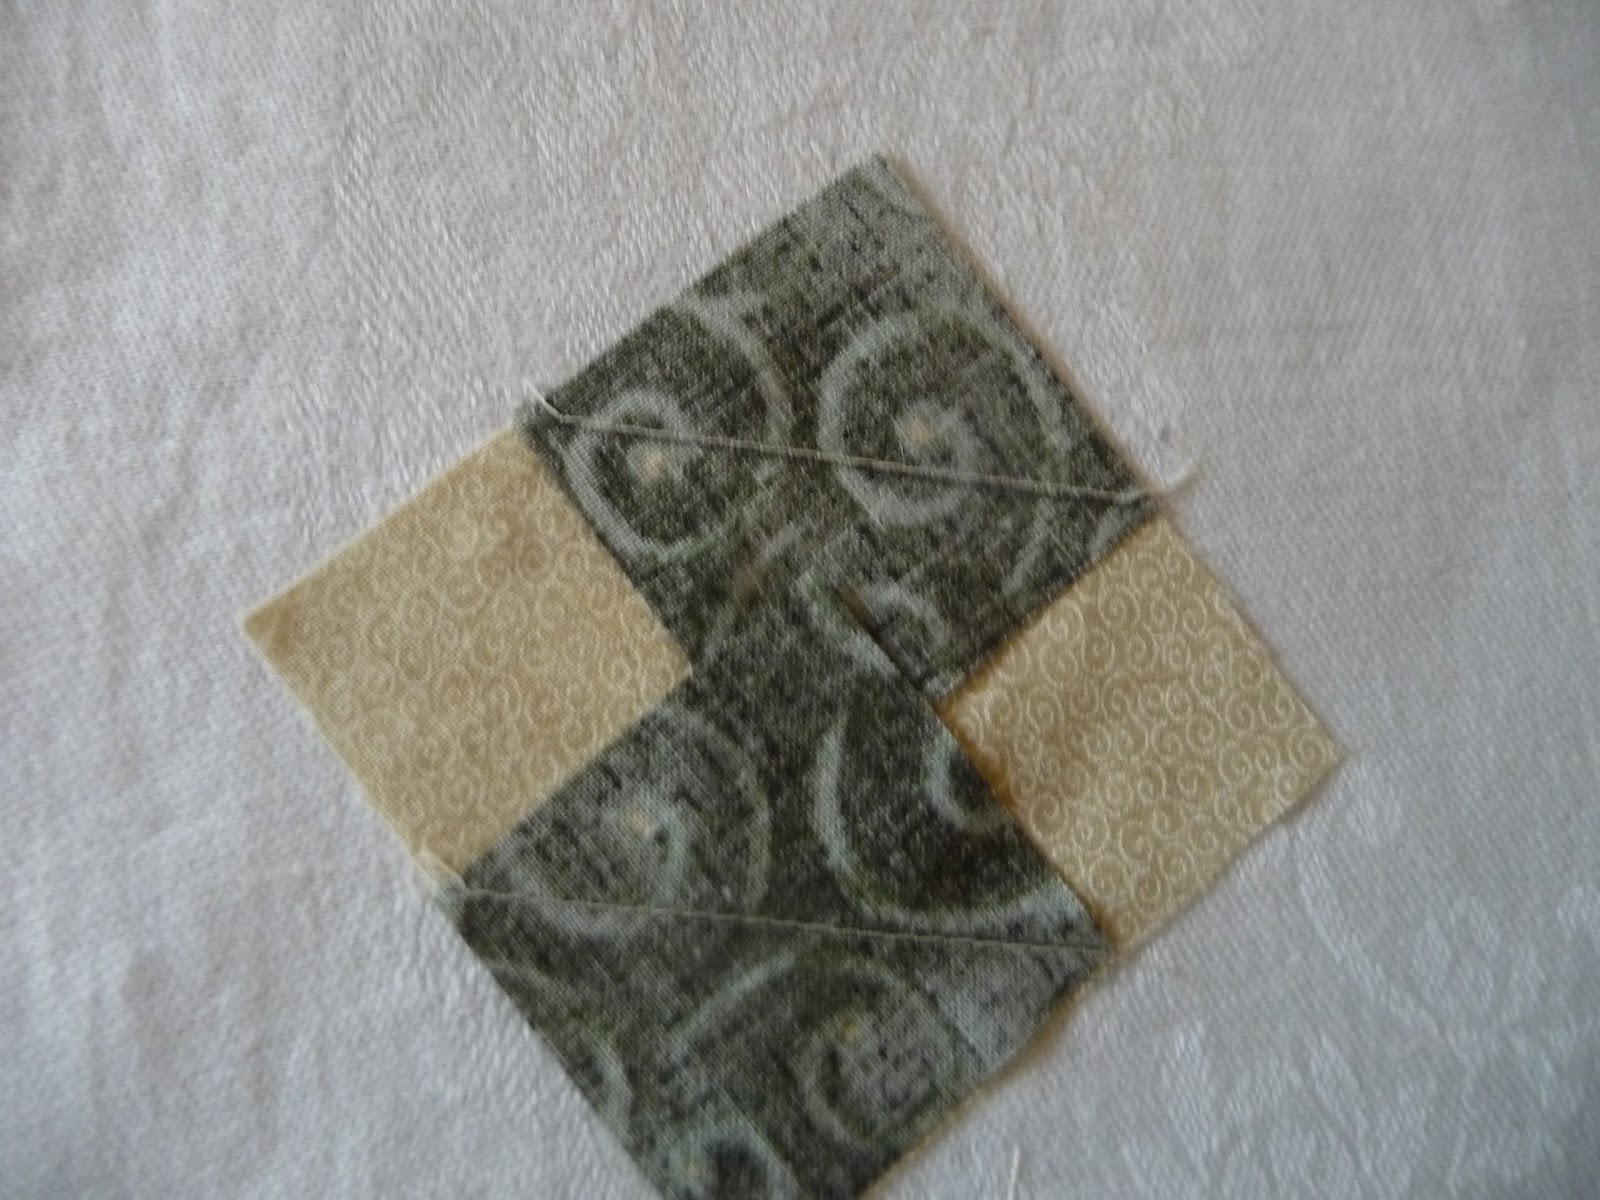
Carefully roll each small square back on itself with your iron and press, making sure that the loose edges of the squares align with the background square.

Now trim the seams, cutting off the small triangles on the outside corners of each square. Technically you don't really have to do this, and the cut pieces are too small to use for anything. But trimming off the seam means you won't have to sew through two extra layers of fabric when you join the units.
 |
| Line up the seam with a quarter-inch line on a small ruler -- easy! |
Square up the completed unit, making sure you align along a seam line before you trim.

The first block that I made of this pattern, I stitched too far in from the diagonal, and nothing fit properly after that. Here's what it looks like when it's right!

This is the completed block. Since you pressed the small (dark) squares back on themselves, the seams will automatically face away from each other so that they can be easily nested.

Flutter Wheel
Again with the 1" triangles! The pattern was easy to follow, but there's not much room for error! The dark and background fabrics start as 2" squares. Like XQuisite (above), this one is done scrappy, using 5 different background fabrics and 5 different darks.
Put a light square and a dark square right sides together. Sew each pair of squares to make 2 half-square triangles (I stitch a quarter-inch on either side of the diagonal and then cut along the diagonal to make the HSTs, but there are other ways to do it). The medium fabric is four 2-1/2" squares (those are the BIG pieces!). Good thing these are sewn together yet -- somebody's out of place!
 | ||
| HSTs are sewn, 4 in each color combination. |
Keeping the colors together for each fan unit, sew two pairs of HSTs together, dark-to-light, to form a rectangle and press toward the dark side.
 |
| HSTs are sewn once to make rectangles (half of a fan unit) |
Flip the rectangles together, right sides together, nesting the seams to get nice points in the center of each fan unit.
 |
| Nest the seams |
 |
| Rows are sewn -- almost done! |
 |
| Sewing the rows together |
 |
| Flutter Wheel |

A Design Wall at Last!
You might remember the mosaic fireplace quilt that I'm planning. I decided that I really needed to have a flannel wall to figure out the layout. I'd already bought yards of flannel, so this week I headed out to Home Depot to look for a large piece of foam core. Oops! Forgot that I had the little sports car instead of the station wagon that day! I ended up buying an 8-foot length of 1"-thick styrofoam and had the guy cut it in half. Then I put the top down on the car and wedged the pieces into the front seat as best I could. Almost lost it a couple of times on the half-hour drive home, but we made it!
To connect and stabilize the two 4-ft pieces, I taped cardboard along the seam. Duct tape and the inserts from cases of wine! Perfect!
 |
| The back of the styrofoam |
 |
| The flannel awaits |

 |
| Look, Ma! Hospital corners! |
|
| Barrister's blocks so far, including 3 sets of do-overs |
No comments:
Post a Comment