Monday, May 13, 2019

Flying Geese on the Lake


As I mentioned a few weeks ago, another Bonnie Hunter Quiltville Mystery Quilt is now under my needle, this time On Ringo Lake from 2018.  She had me at the photos -- it reminds me so much of Otsego Lake.


                         Bonnie's Ringo Lake at dawn --->


My photo doesn't show the dock and boat, but we have those, two, in the same configuration.


Otsego Lake, Michigan, at sunset


I had planned to work on this as a leader-and-ender project, with serious sewing happening only at my Thursday morning quilt group.  Lots and lots of small pieces to sew and no big rush to finish.  (Although I do hope to finish it in less than the 5-1/2 years it took to finish Easy Street).  However, I've run up against an unexpected "problem."  The only must-make quilt on my sewing table is a panel, so no need for leaders/enders there.  And every other UFO is something waiting to be quilted.  So I've managed to complete four of the clues and have cut the fabric for a 5th.  There are eight clues altogether, but only seven that are start-from-scratch units; the rest are putting units together.
You already saw the first units, teal/neutral/brown 9-patches - 50 in all.  I was able to  complete these almost entirely from my stash, buying just a few teal fat quarters to add variety.


Next up:  Coral and Neutral Flying Geese

As I've complained mentioned before, flying geese have given me a lot of trouble in the past, mainly because I tend to tug and pull at the pieces.  Over time, I've learned to make them using the no-waste, 4-at-a time method, cutting down immensely both cutting time and bias-edge handling, and no special ruler required.  There are many good tutorials out there.

Those little triangles are from a different unit, but I'll sew them together to make a million teensy-weensy HSTs!

Into each life some rain must fall.  Note to self:  don't leave those little triangles sitting near your sewing machine.  They have a tendency to sneak around and pop up in unusual places!  Oops!


Another wonderful addition to my quilting toolbox is this scant-quarter-inch foot for my Featherweight!  I was tired of having to put painter's tape and bits of old hotel keys and library cards on my machines to mark out 1/4".  Plus, they do no good when you have to sew a quarter-inch from a line, rather than from an edge.  The Featherweight Shop posted a video comparing four kinds of quarter-inch feet -- very useful!  I bought the one that sews a scant 1/4".  It has a narrow blade that you use to follow your marked line.  It really helped with both precision and accuracy.


Done!  200 flying geese!


I did have to buy almost all the coral fabric that I'd need (two other clues use it, too), as it's not a color I use much and so had very little in my stash.  This can be expensive!  For this quilt I needed 3-1/4 yds. of the coral, 15-1/2 yds. of fabric altogether.  About 25% of all this fabric ends up in the many, many seams.  Add in the batting, the backing, the thread, and weeks of your time.  Yow!

Saturday, May 4, 2019

Petey's Quilt

I 💔  Baby Quilts!

I've been wanting to share this quilt with you for a while.  The quilt was done in record time, but I shipped it off before I remembered to take photos.  

My grandson Peter was born last September, my son's first son, so of course I wanted his quilt to be special.  But I also wanted it to be quick -- his two big sisters both had to wait a year for their quilts.  😬  Of course, you can guess how that went...


I started with a charm pack featuring garbage trucks and other "things that go" (blue and orange, yay!) and jumped right into my go-to baby quilt, a disappearing 9-patch in a traditional layout.  I fiddled with the squares to maximize the variation in both color and pattern in each block.


Have I showed you my "design wall" before?  My husband didn't want anything permanent on the wall, so I rigged up this beauty -- squares of Velcro sewed along the edge of a piece of flannel, and the matching counterparts stuck to the top of the moulding on the closet doors.  It's not nice and flat, (hence, "wall" in quotes) and using it usually requires some pinning, but in general it does the trick.

Once it was sewn and cut up, I took it in to my Thursday morning quilt group (and the LQS's sturdy design wall) to fiddle some more.  As always, I wanted to line the blocks up so that there would be no seam-matching until the final rows were sewn together.   (Note to self: it probably would be just as easy and maybe faster just to ignore this compulsion and match the seams). 


Next step:  the backing.  You know how I feel about that (remember this post?).  I found this perfect fabric at my LQS (Riverhead Vac and Sew).  Sorry, the lighting was the best...


My daughter-in-law lived for a decade in Brooklyn, so the New York City vibe fit right in.  Plus, I'm a geographer, so the whole map thing made me happy.  Unfortunately, I realized after I started working with the fabric that it was limited to Manhattan only.  Well, that's OK.  We have family in New Jersey, and we're on Long Island; a few signs should do the trick.


I see Matchbox cars and Hot Wheels in this baby's future!

I did a diamond pattern with my walking foot in the border, but decided to "walk" around the streets of NYC for the rest of the quilting.  This required a LOT of twisting and turning of the quilt, but I (kind of) enjoyed the challenge of figuring out what route to take in each section and how to start and end at a bridge so that I didn't need to break thread.  I'm pretty happy with the way the quilting looks on the front of the quilt, entirely random from that perspective.


At 7 months, Petey isn't exactly into his quilt yet, but I'm sure the time will come.  


Tuesday, April 23, 2019

Some Fun for Your Weekend!


This was a holiday weekend for many people, with time away from chores (too rainy for yard work, anyway, at least around here) and time with family.  All generations of my family live far away, so I've had time for some quilting, but nothing ready to show you just yet.  So I've concocted a little quiz for you!  It isn't about quilts or quilting; no specialized knowledge is required.  (Although quilters, who have a reputation of looking for their mistakes from the Brooklyn Bridge, may have a leg up).

(Note:  this post was supposed to go on line over Easter/Passover weekend.  But it was delayed when our internet connection went belly-up.  After going through two routers and two modems, the cause remains a mystery, but at least we're back!)


Quiz time!

These wonderful pictures are from an alphabet fabric panel.  Your task is to identify as many items as you can in each picture that start with the letter in that picture.  There are at least four items in each picture.

Be aware that some of the pictures have two or three letters in them, but there are still usually four "hidden" items.  Watch for subtle elements in the picture -- not everything is a "thing." Also, the fabric comes from England, so be aware that some of the items may refer to an English, rather than an American, word.  And some things may refer to old-fashioned names that younger people may not recognize.  So this is a family affair!

Send me your answers along with your email address in the Comments section at the bottom of the post.  In a couple of weeks I'll post my list as well as anything you found that I missed.  A winner will be chosen by drawing from a hat one name among all those who found everything in my list.  There will even be a prize!   Enjoy!


Aren't these drawings wonderful?!  Just enchanting.


Keep an eye on the wallpaper!

Hmm. what kind of house are these animals living in?


You did it!  I'll look forward to hearing from you with your answers!

Monday, April 8, 2019

In For the Long Hall

No, that isn't a typo!  Ha ha ha!

Almost done with the Otsego Lake twin bed quilts!  The journey started here and has continued on and off for eight years.  With the tops done and the backing purchased, I got some wonderful bamboo/cotton blend batting.  Now it's time to take everything to Clemencia for the quilting.

The backing (which I showed you here) was about 10-1/2 yards long -- not wide enough for the quilts, so four lengths to have enough for a vertical seam.  No way I could actually measure this, so I folded in half lengthwise to fit in the upstairs hall,  then unfurled it along the hall so that that I could fold it in half and then in half again..  Voila!  Four pieces of fabric long enough for the quilts and two widths each for the pieced back.


It worked out just fine.  Plenty of extra fabric on each side for the longarmer, and I'd calculated the length pretty well, I think.

In the photo, I'm standing in front of the spare bedroom where I keep the ironing board (steps between my sewing space and ironing space to keep my Fitbit happy).  To your left is my sewing space, to the right the master bedroom.  Fortunately, the fabric didn't have to extend into the bathroom at the end (yuk!).

I'll be so happy to have these quilts DONE and shipped off to my brother to schlep up to our cabin. 


Friday, March 22, 2019

New Finish, New Start

Easy Street is on the Bed


As some of you know, I am a fan of Bonnie Hunter's Quiltville blog.  I started Easy Street, one of her annual mystery quilts, several (!) years ago, right around the time my son got engaged.  Since then, he's gotten married and they now have three wonderful kids.   If you've been reading this blog for a while, you know that I've made my son and daughter-in-law a wedding quilt, quilts for each of the kids, plus quilts for several nieces and nephews, a Quiltville leader-and-ender project (more on which another time), and other miscellany.  But at last, Easy Street is done!!

I dropped this project several times, not just because of other priorities, but also because I because discouraged.  Nevertheless, I persisted.  Once the blocks were done, I was so excited to finish it.  Adding the first border was a challenge -- the quilt wasn't particularly square, and all of the edges -- **ALL** -- were the bias edges of triangles.    The quilt was too big to even try to do on my DSM.  The quilting was done by Clemencia Ramos in teal.   I am thrilled with the result.


Not having a clue about what I was getting myself into, I decided to make this quilt because of the colors.  For me, it wasn't "easy street," but I sure learned a lot!  The backing is a pretty print of violets in the same colors as the top, more modern than traditional, but a perfect complement
.


On Ringo Lake

With Easy Street done, it was time to start a second Quiltville mystery.  Once again, I fell in love with the colors, never mind the pattern.  This time I got a little smarter and waited until the reveal to go ahead with selecting fabrics and diving in.  So far I've finished Clue #1 - 50 nine-patches in teal, brown, and white-to-beige neutrals.


 Some of the teals and neutrals are left over from Easy Street.  Sweet.   I'm looking forward to the next clue, in corals and peaches.  Yum!

Sunday, March 17, 2019

Music and Love


Happy National Quilting Month!


... and National Quilting Day, too.  It was yesterday, but I didn't celebrate because I was away (enjoying the last day of a lovely, warm week in Florida).   But I do have a recent finish to share with you.

Music and Love


Music and Love was intended to be a housewarming gift for our dear friends Gordon and Diane, who moved last summer from Delaware to North Carolina.  I'd had the fabric for a long time, but now was time for it to see the light of day.

The fabric had a music theme, and the pattern was "Xs and Os" from Missouri Star Quilt Company.  Gordon and Diane were both musicians and teachers, and the kisses (Xs) and hugs (Os) were for their upcoming 54th wedding anniversary.

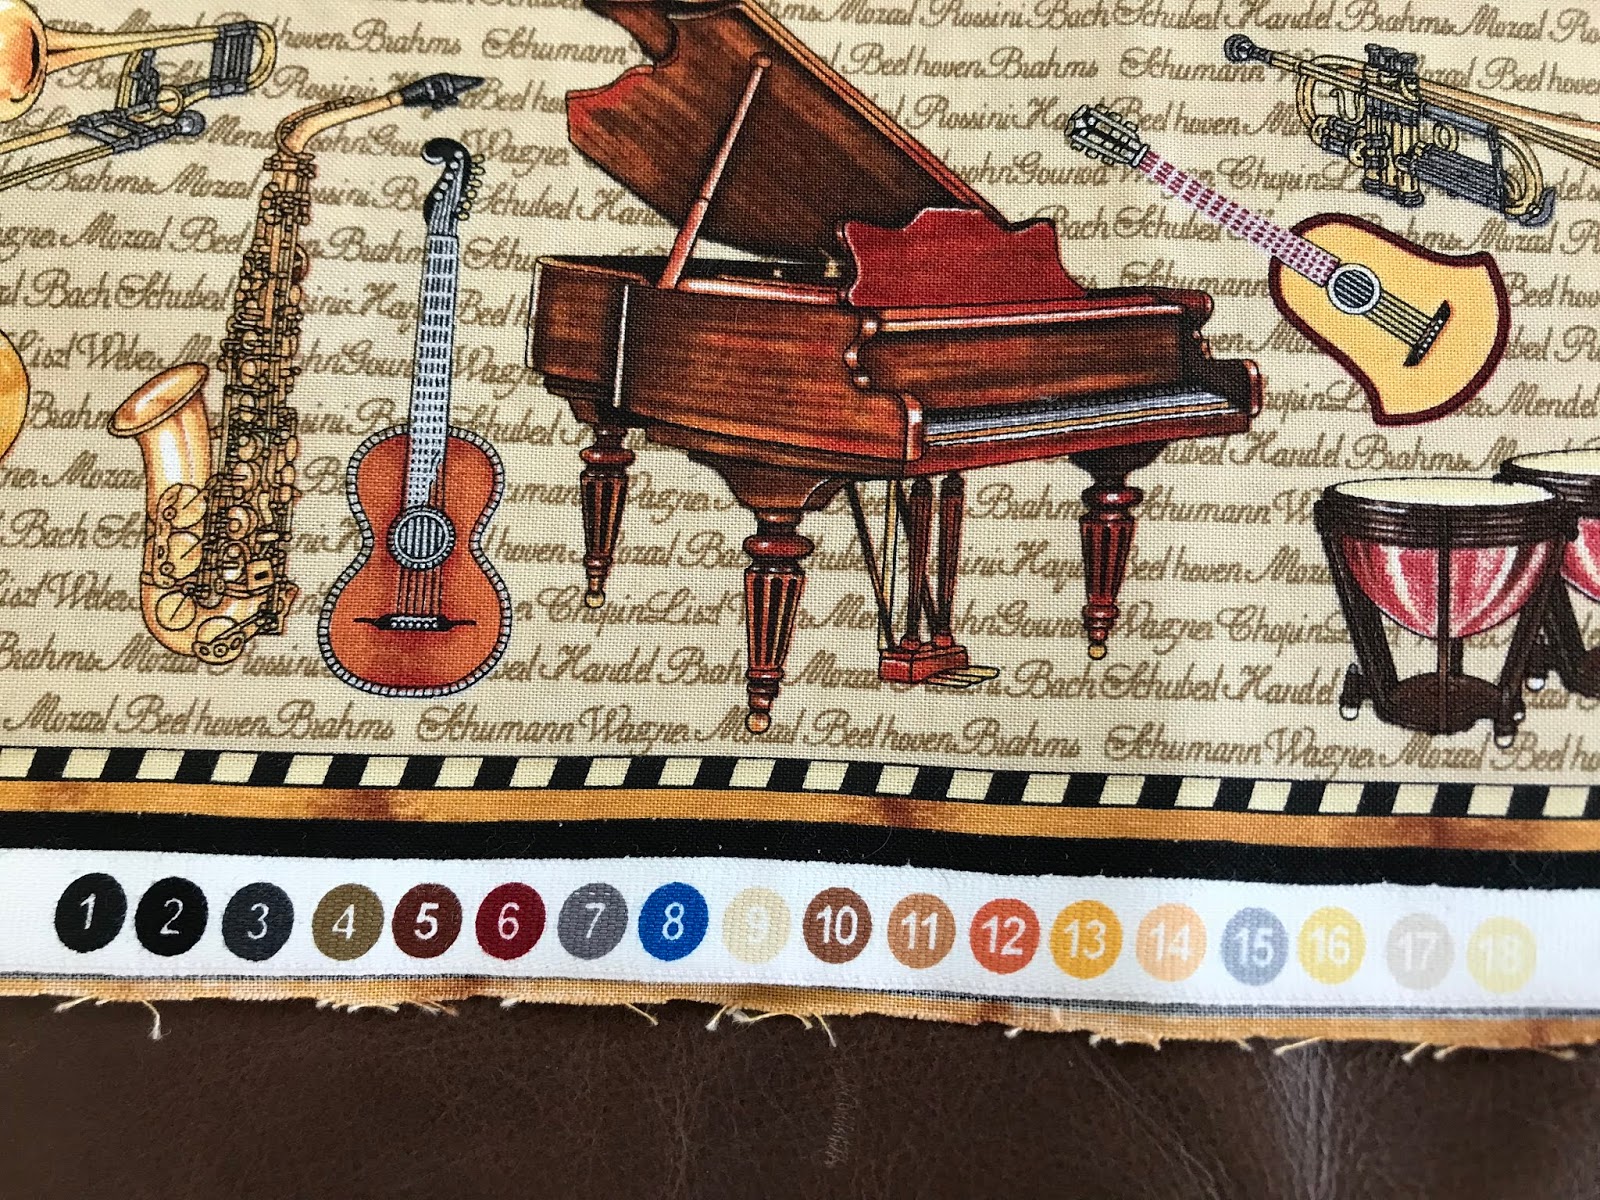
The pattern was quick and easy (as usual from MSQ).  Two charm packs of a print and one of a light neutral (I used a dotted cream).  The print I used was Perfect Pitch from RJR.  Check out the colors on that selvedge!


Snowball the 5" print squares by sewing 2-1/2" neutral squares to each corner.  
Press the neutrals out and trim back to a 5" square.   Voila!


Except that I decided to have a little extra fun!  I sewed a second seam 1/4" away from the main seam before trimming off the triangles.  


Please ignore the line to the left of the seam.  I put the square down backwards!  The second line of stitching will be to the outside of the first seam.


Voila again!  Handfuls of tiny half-square triangles.  Two charm packs = about 80 squares = 320 HSTs!  I was thinking of using them in a border, but decided against it in the interest of time.  I wonder what they will become?


Put 4 snowballed squares together and there's your block.


Sew up the rows and columns and you're done.  I fiddled with the layout to try to get the colors more-or-less evenly distributed.  And I pressed the seams open, since pressing them to the dark side posed nesting issues.


For the quilting, I sewed down the middle of each line of Xs, then a line around the inside of the neutral squares and one between the first two lines.  So three lines in the Xs and one in the middle of each block.  I used my walking foot, and turning the quilt in circles under my small-throated machine was a bit of a pain.  But I like the result.


The binding is made up of short (12" - 16") strips of one print in several different shades.


Sadly, Diane passed away last fall.  But her name on the quilt, as he requested, will be a sweet reminder for Gordon.