After my son's wedding in July, we returned to Michigan to have house guests, family, and another wedding. All those UFOs that I thought I would work on during my one week home in July came to naught. But now, especially with the unexpectedly cooler weather, I'm ready to get to work!
Project #1 is a wedding quilt for my niece, Molly, and her outstandingly wonderful husband, Laith. They have a house on a lake near Detroit, and she requested a lap quilt for cruising around the lake on their pontoon boat on chilly evenings (only if I get to use it, sweetie!). Several of you suggested something blue and white, something nautical. But when I saw all her wedding colors -- save-the-date, invitation, place settings, flowers bridesmaid dresses, I had my plan! Her colors were dark blue and apple green -- yum! Her flowers included white hydrangeas, which I love. Perfect for the background color.
I needed a block pattern that would work in just 3 colors. I finally chose the World's Fair block from Fons & Porter/Keepsake Quilting's Block Buster e-book (available free to subscribers or on Amazon and some other sites). Do you have any idea how many "World's Fair" blocks there are?!!
This is interesting because you get very different secondary patterns depending on how your orient your blocks. No matter how you do it, there are some apparent shortcuts -- it's really just 2 Half Square Triangle (HST) units and two 4-patches.
When you put them together in a quilt, you can see that the 4-patches can be done by simple strip-piecing.
The block isn't in my Quilt-Pro software, so I designed it in and then played around with it, finally deciding to set the blocks on point. Just to make sure that my math was right (or at least that it would work!), I made up a test block using some "loser" fabric that I'd gotten through some sales on the web.
This is pretty enough, but to say that it wasn't printed straight on the grain is an understatement! As a fat quarter, it'll be fine for a few HSTs.
 |
| Mmmm, don't these look just yummy together (not)! |
Leftovers from other projects or "What was I thinking" purchases, already cut into 3'' strips per Bonnie Hunter's Scrap User's System (if you don't know about it, check it out! Great way to save, store and use your fabric!). Good for the 4-patches.
Step #1 - Cut 5-1/2" squares from one color (I'll use the green in the actual quilt) and the background fabric. Fold the background fabric in half, point-to-point, and press.

I've made a lot of HSTs by drawing a line from point to point and then stitching 1/4" on either side of the line. Somehow I always end up stretching the square on the bias when I draw the line. A simple press helps to avoid this problem.
Cut down the crease to create 2 HSTs.
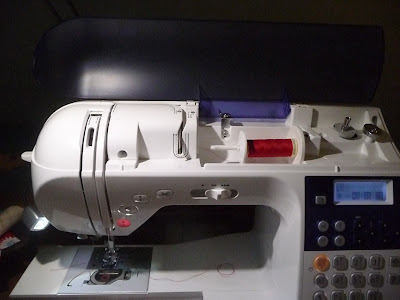
As long as we're using up unwanted fabric, why not do the same with thread? These lovely units I stitched with fire-engine red thread, left over from a Christmas project. (When the test blocks were done, I had only about 10" of thread left on the bobbin. Yes!).

Step #3 -- Sew together 4 of the HSTs to make one unit. I plan to make some small foundation-pieced blocks and applique them in the center of some of these background squares.
Step #5 -- Strip-piece the second color (I'll use blue; here in print/plain/stripe -- yikes!) and background strips. Cut into lengths the same size as the strips (I used 2-3/4") and sew to make 4-patch units. Sew 4 of these units together, rotating the units so that there is a colored patch in the center and one on each corner.
Everything worked out, mostly. And I can use these blocks to practice my free-motion quilting! So now I'm ready to start cutting and stitching! Each of these blocks is 9-1/2" unfinished, so they should go pretty quickly. Stay tuned to see how they are coming along!


No comments:
Post a Comment